Modifying Table Column Settings
In the last tutorial, we created a table component using workflows.
In this tutorial, we'll look at how to configure columns in the table we created.
Changing Column Names
First, let's change the display names of the table columns.
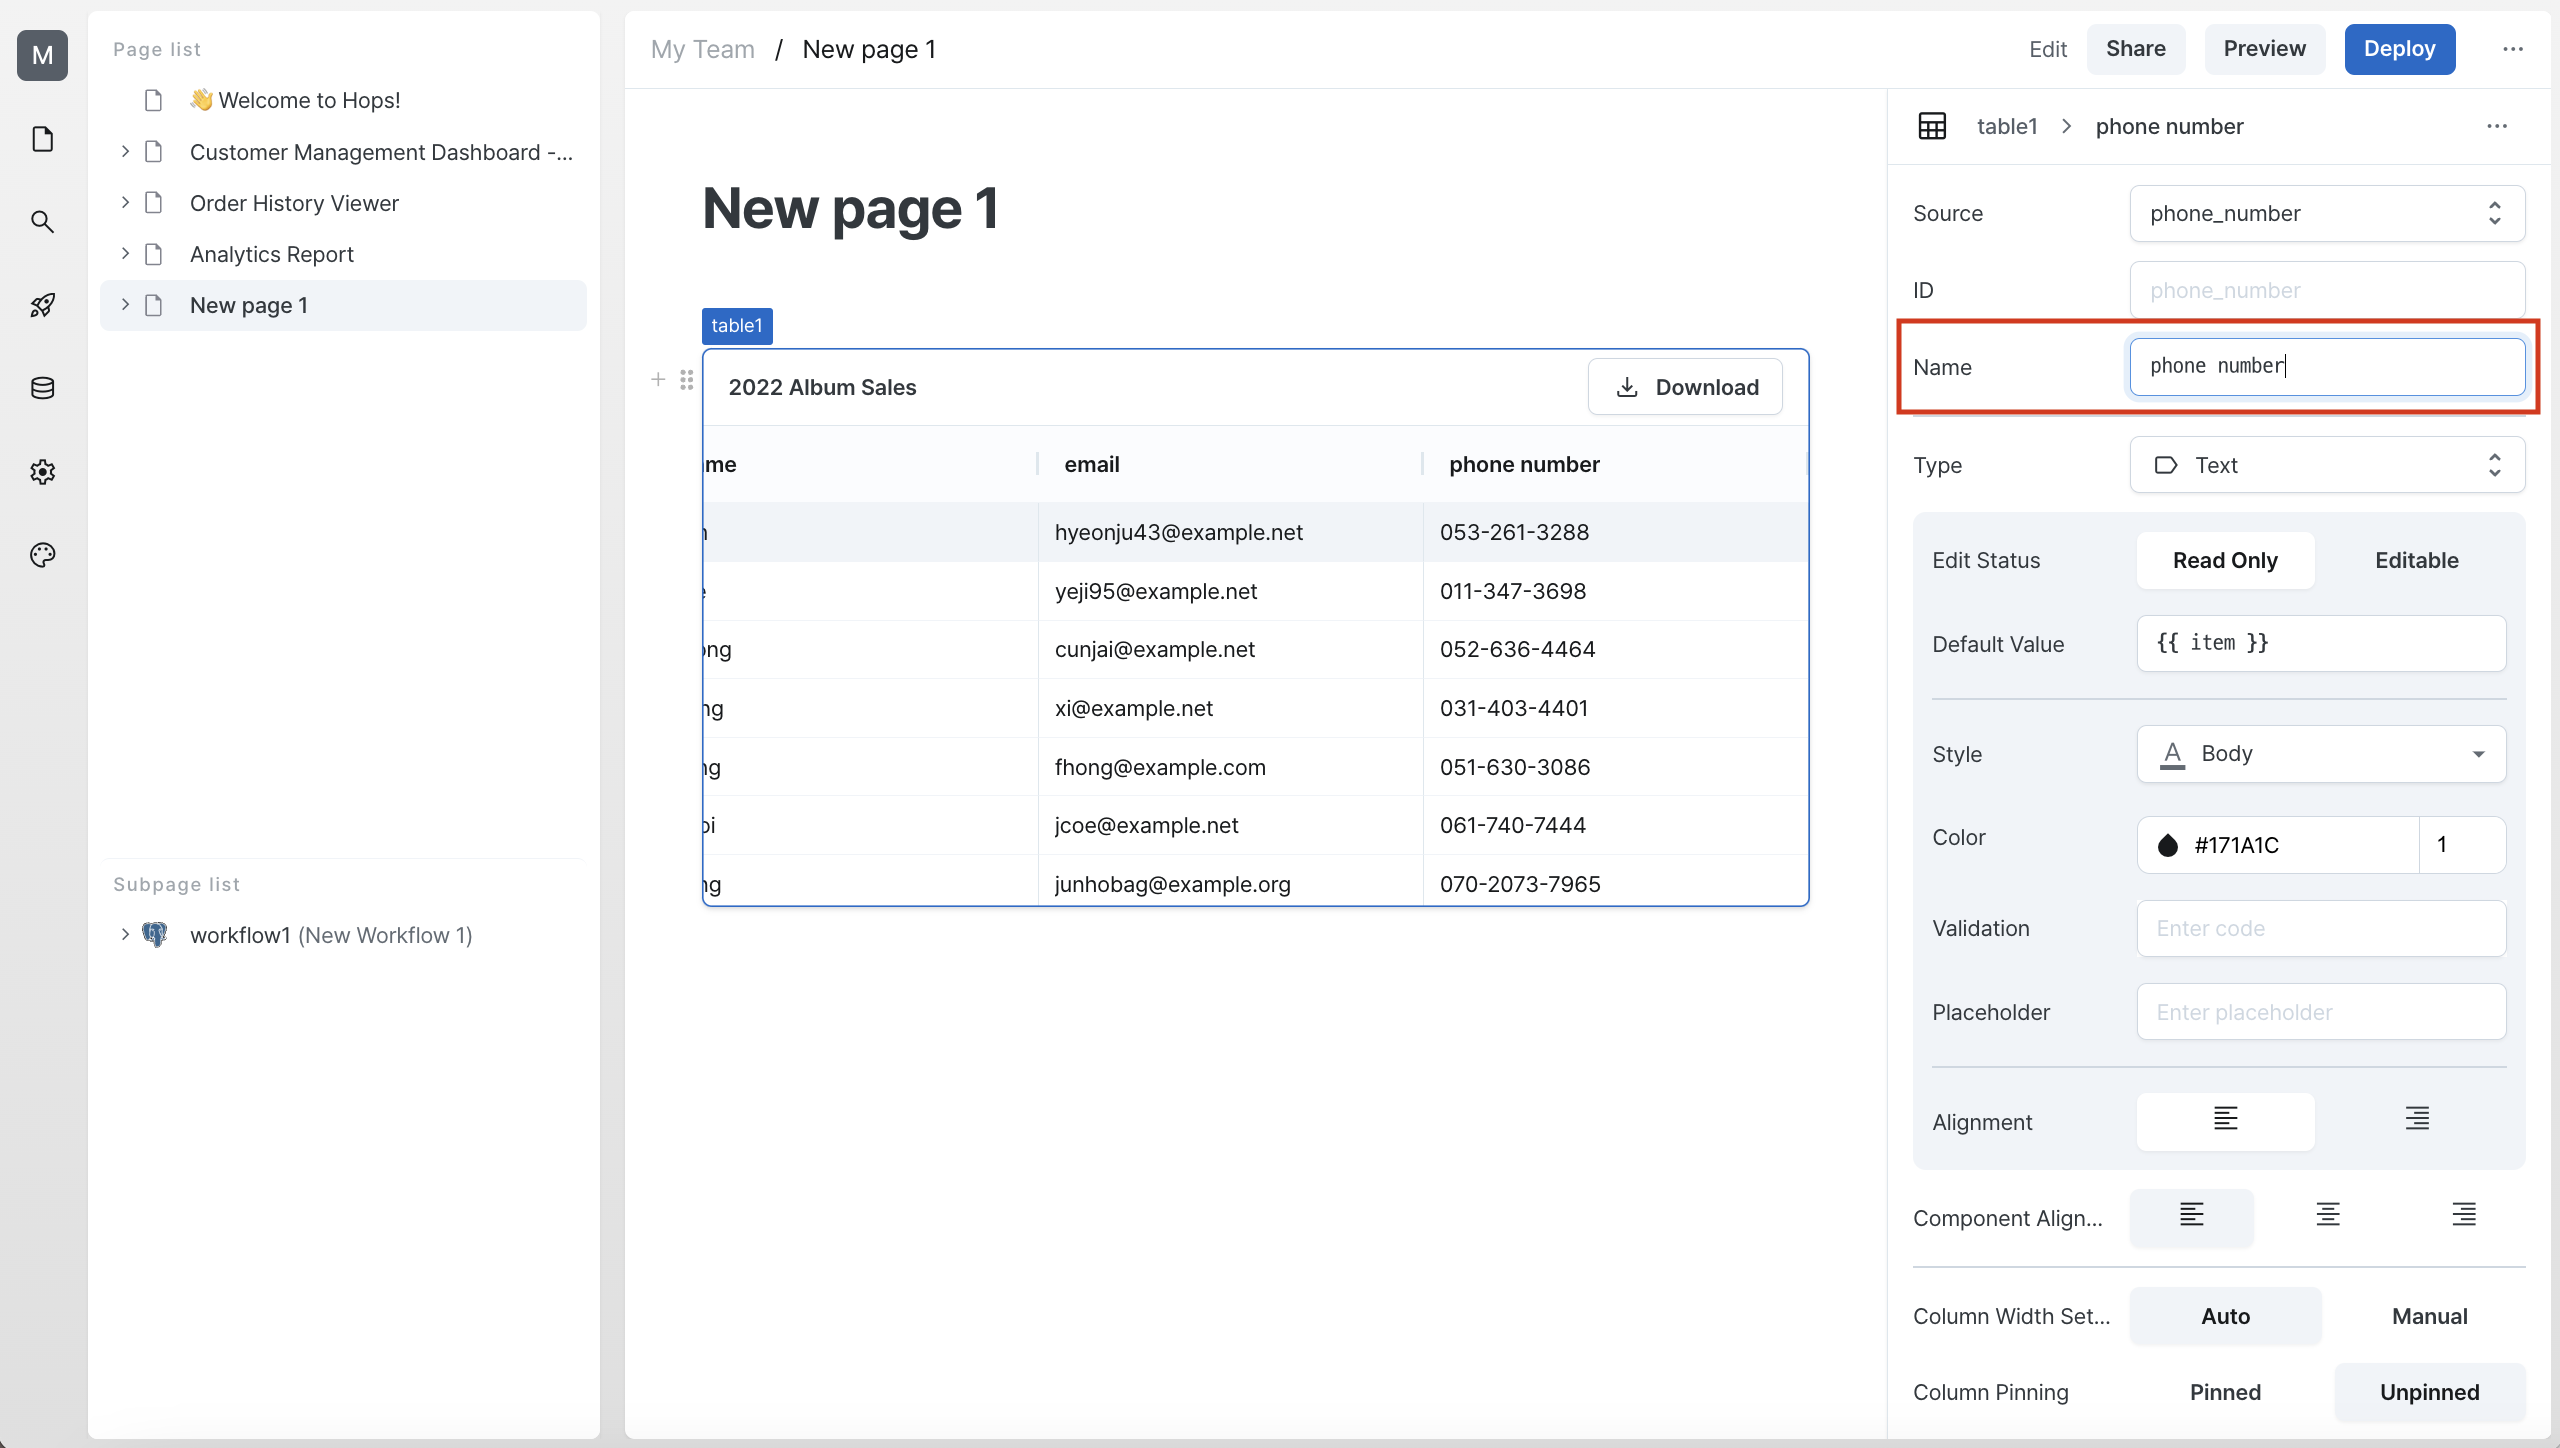
In the properties panel on the right, locate the phone_number column settings and enter phone number in the Name field.
You'll see that the table header is now displaying the changed column name.
Modifying Column Values
Next, let's transform the values in the phone number column.
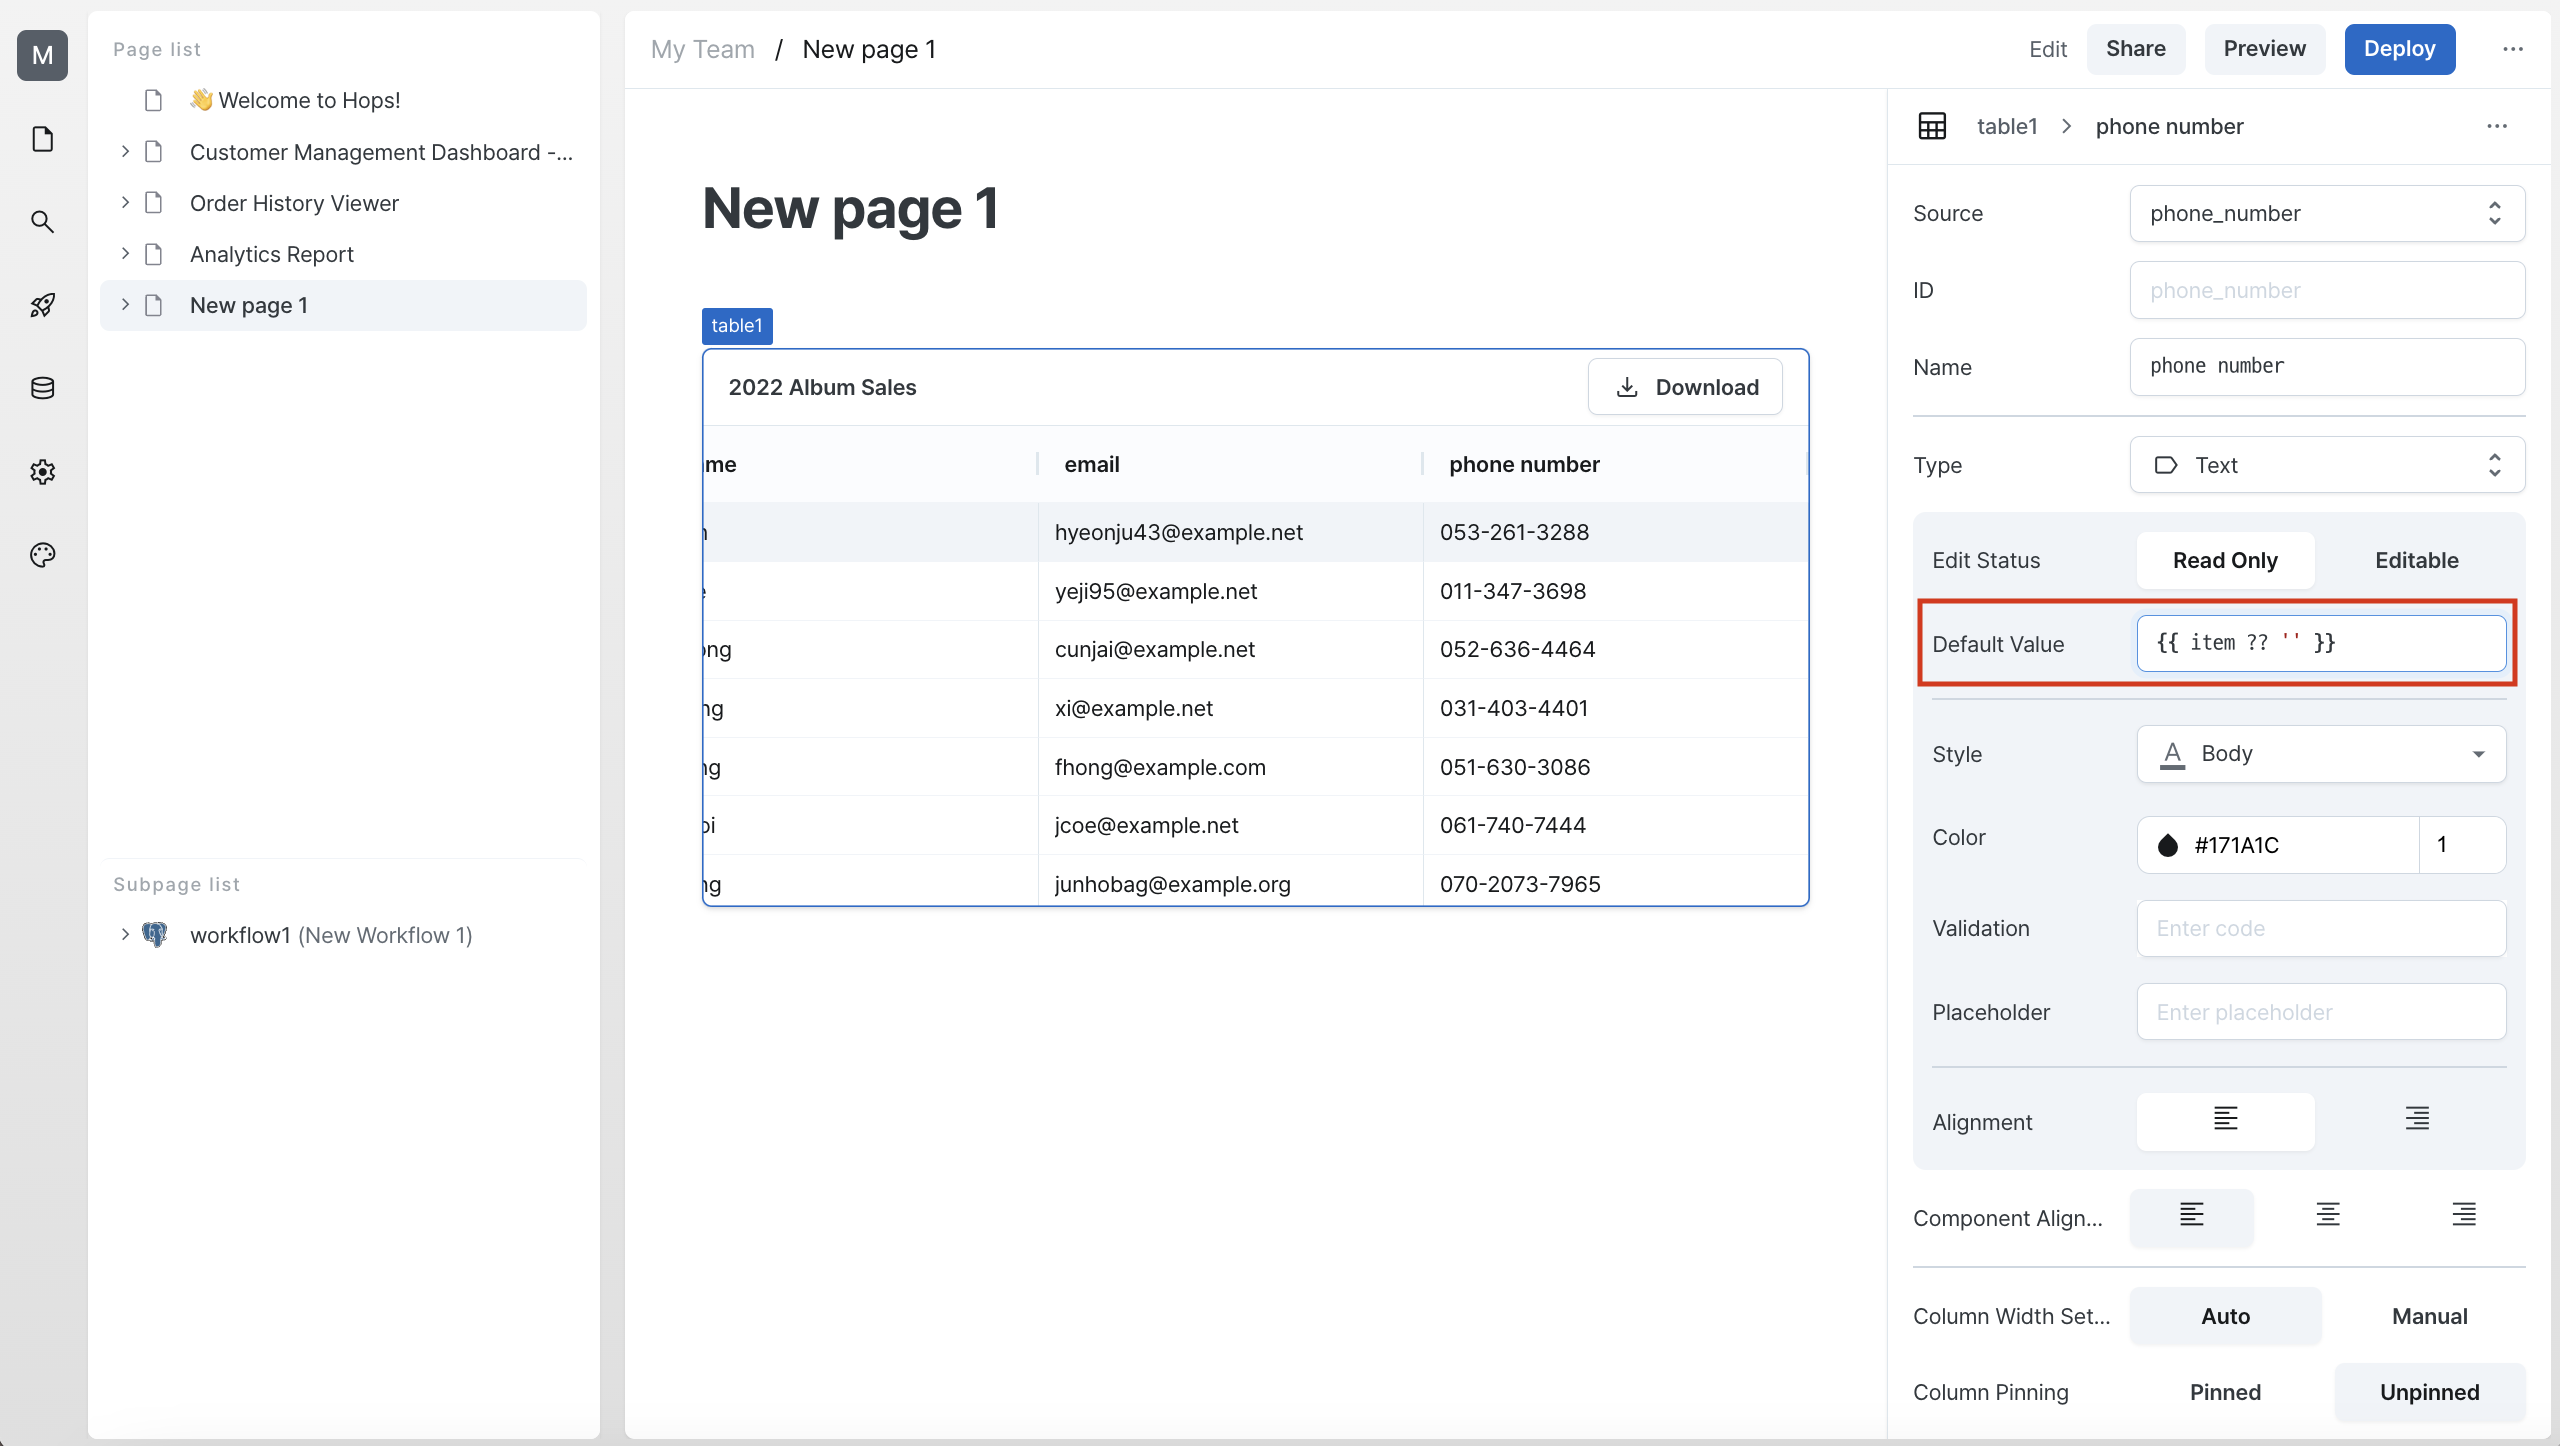
In the Default Value field of the column settings, change {{ item }} to {{ item ?? '' }}.
This code will display an empty string ('') if the value is null.
Deleting Columns
Now let's delete a column.
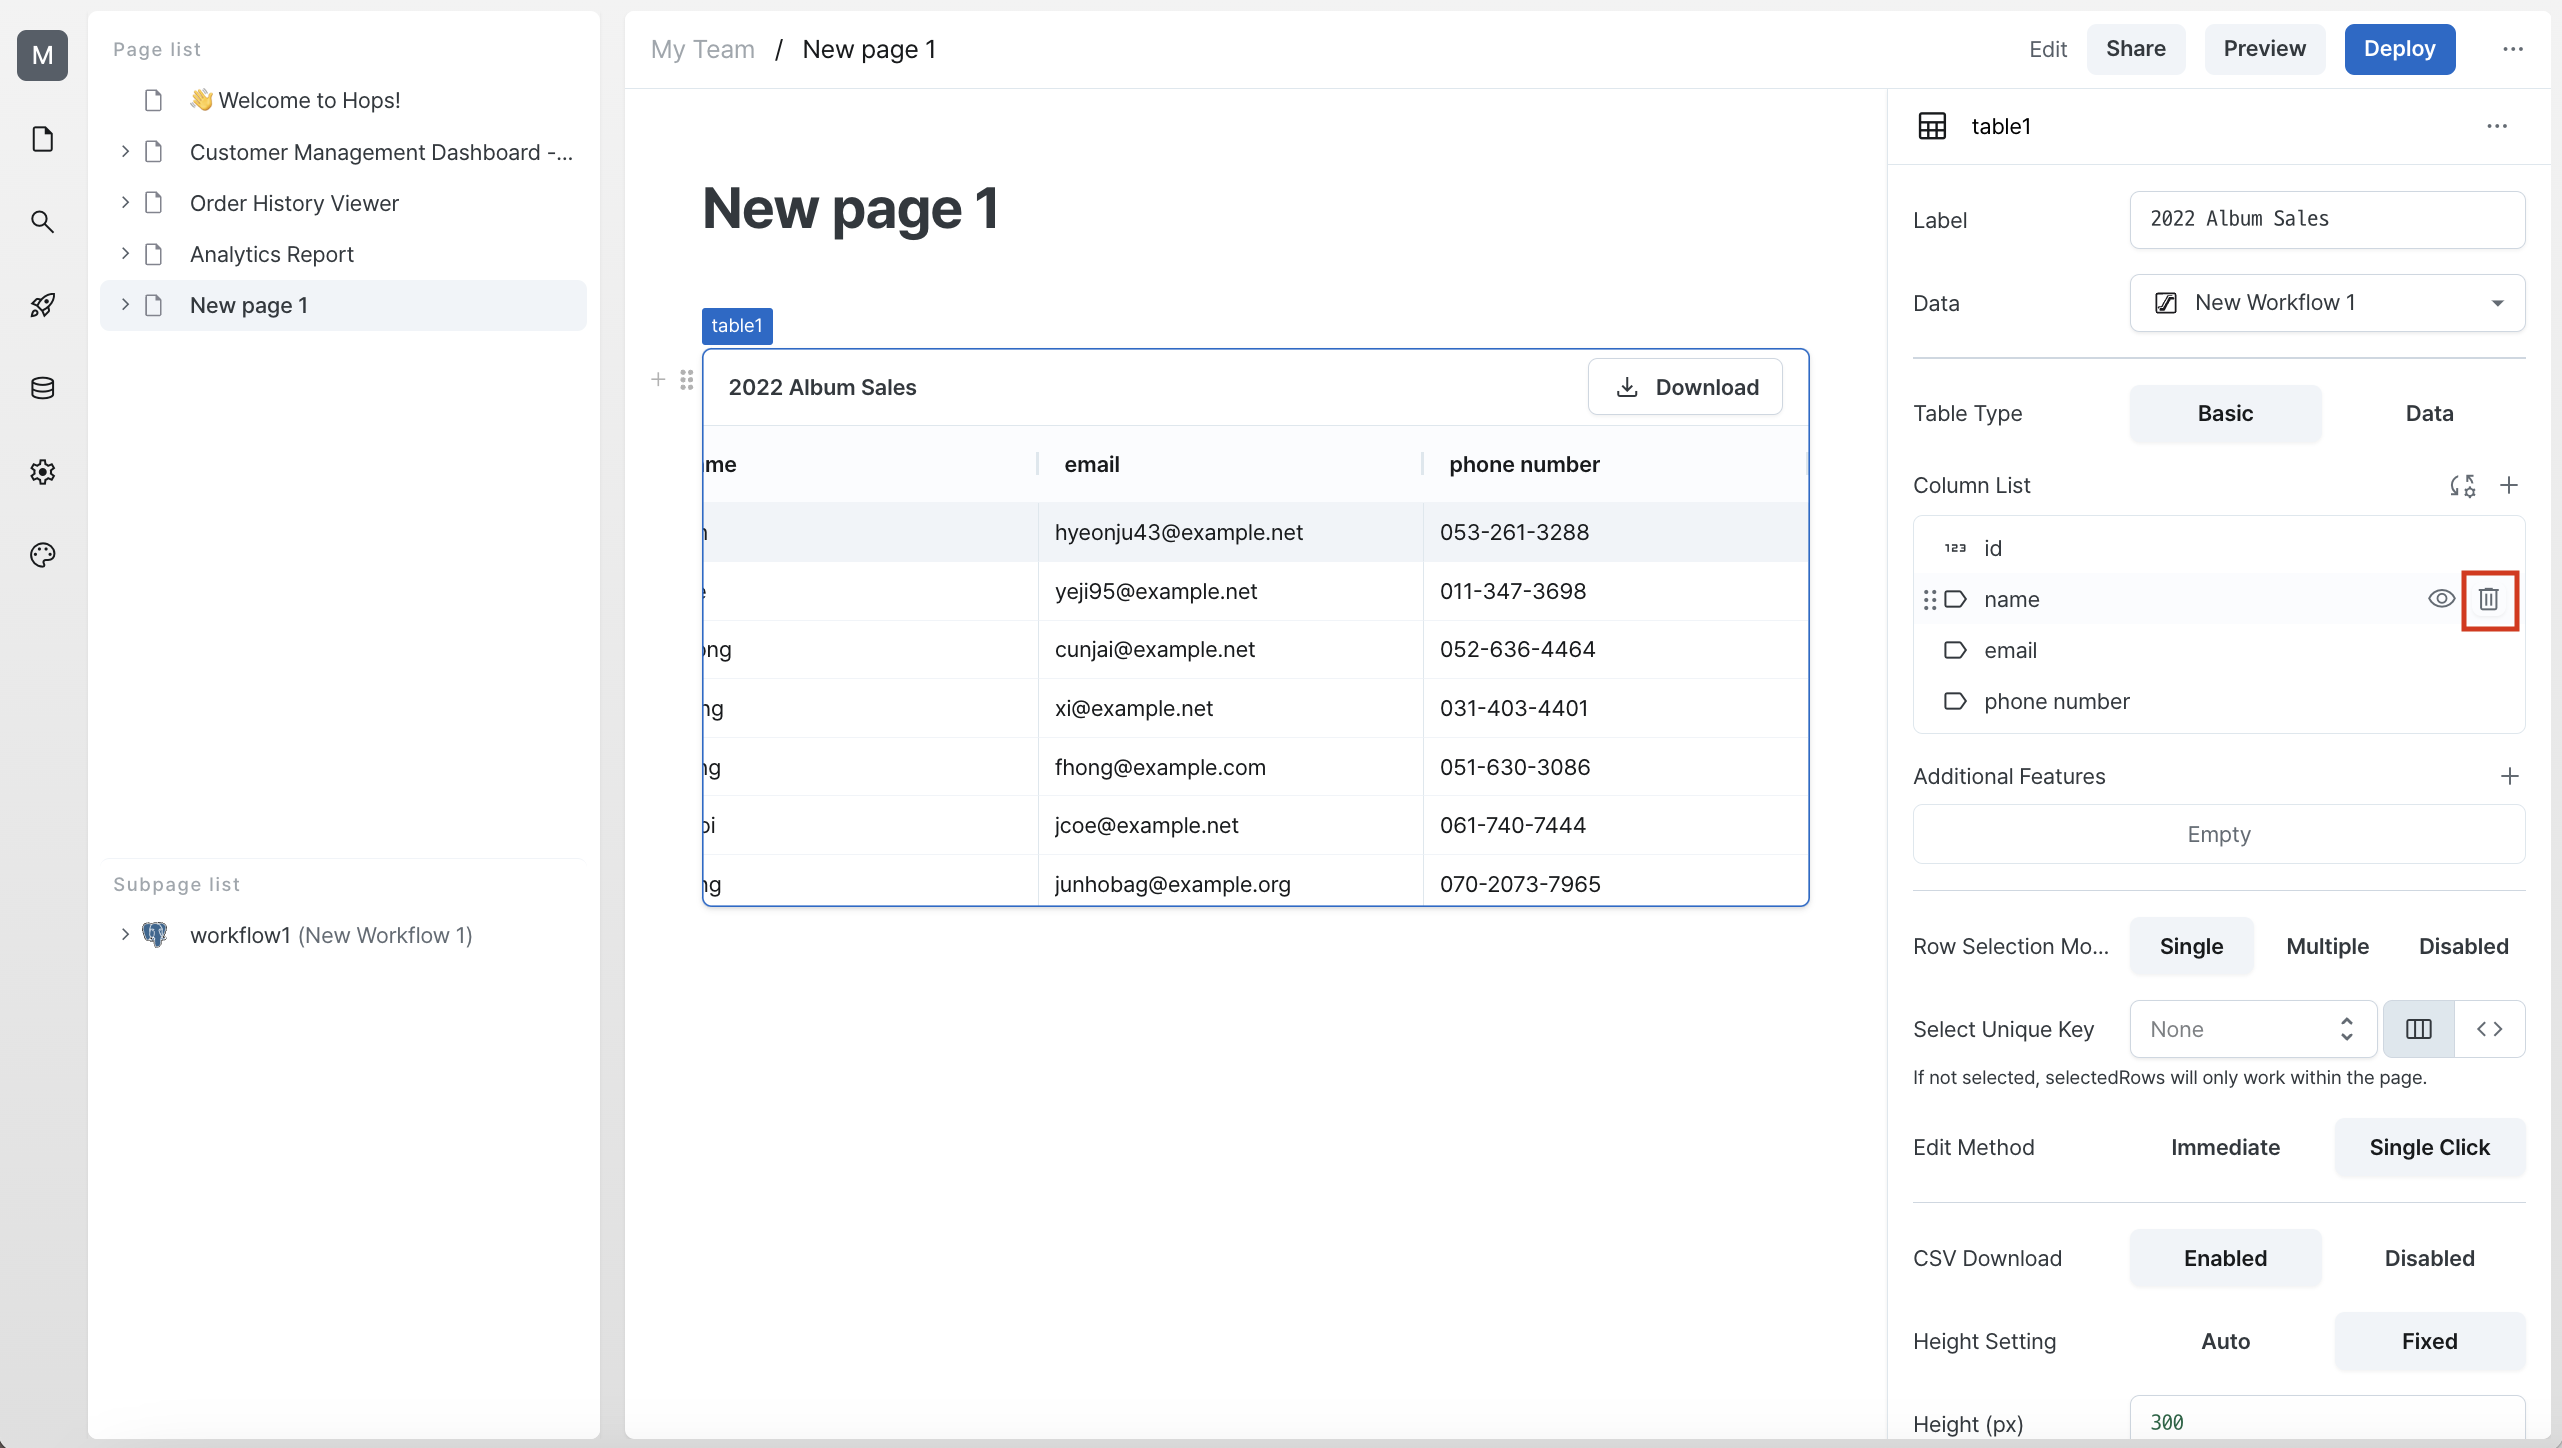
In the Column List, click the delete button (🗑) that appears on the right side of any column to remove it from the table.
Adding Columns
Next, let's add a new column.
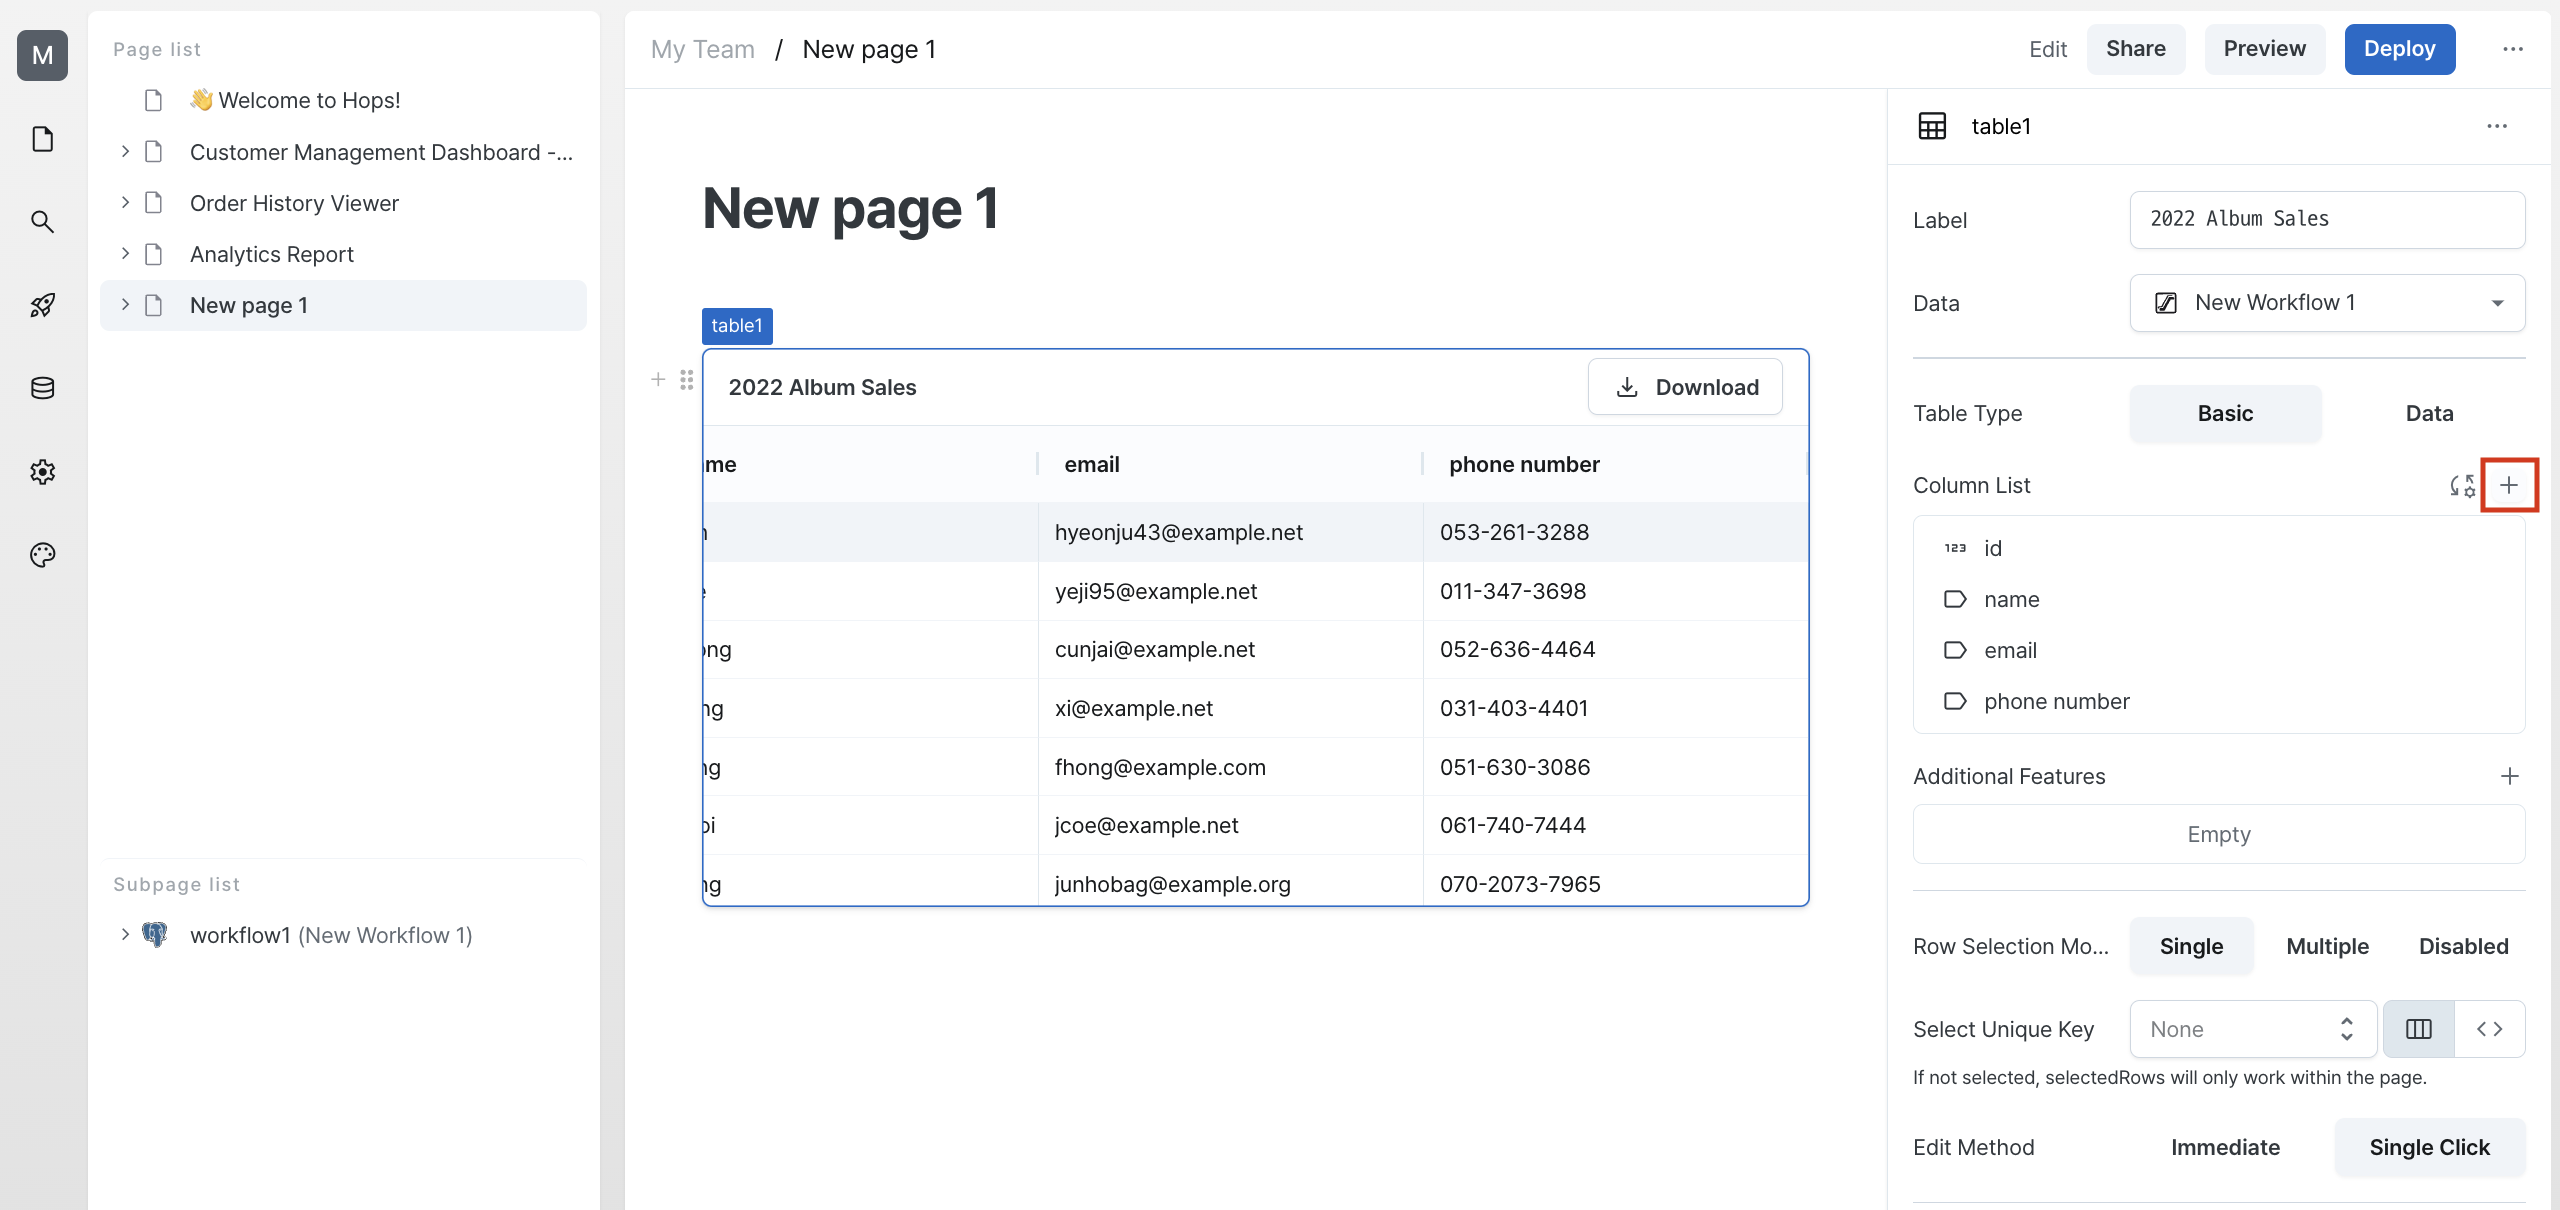
In the Column List, click the plus (+) button on the right side to add a new column to the table.
Modifying Columns
Let's modify the column we just added.
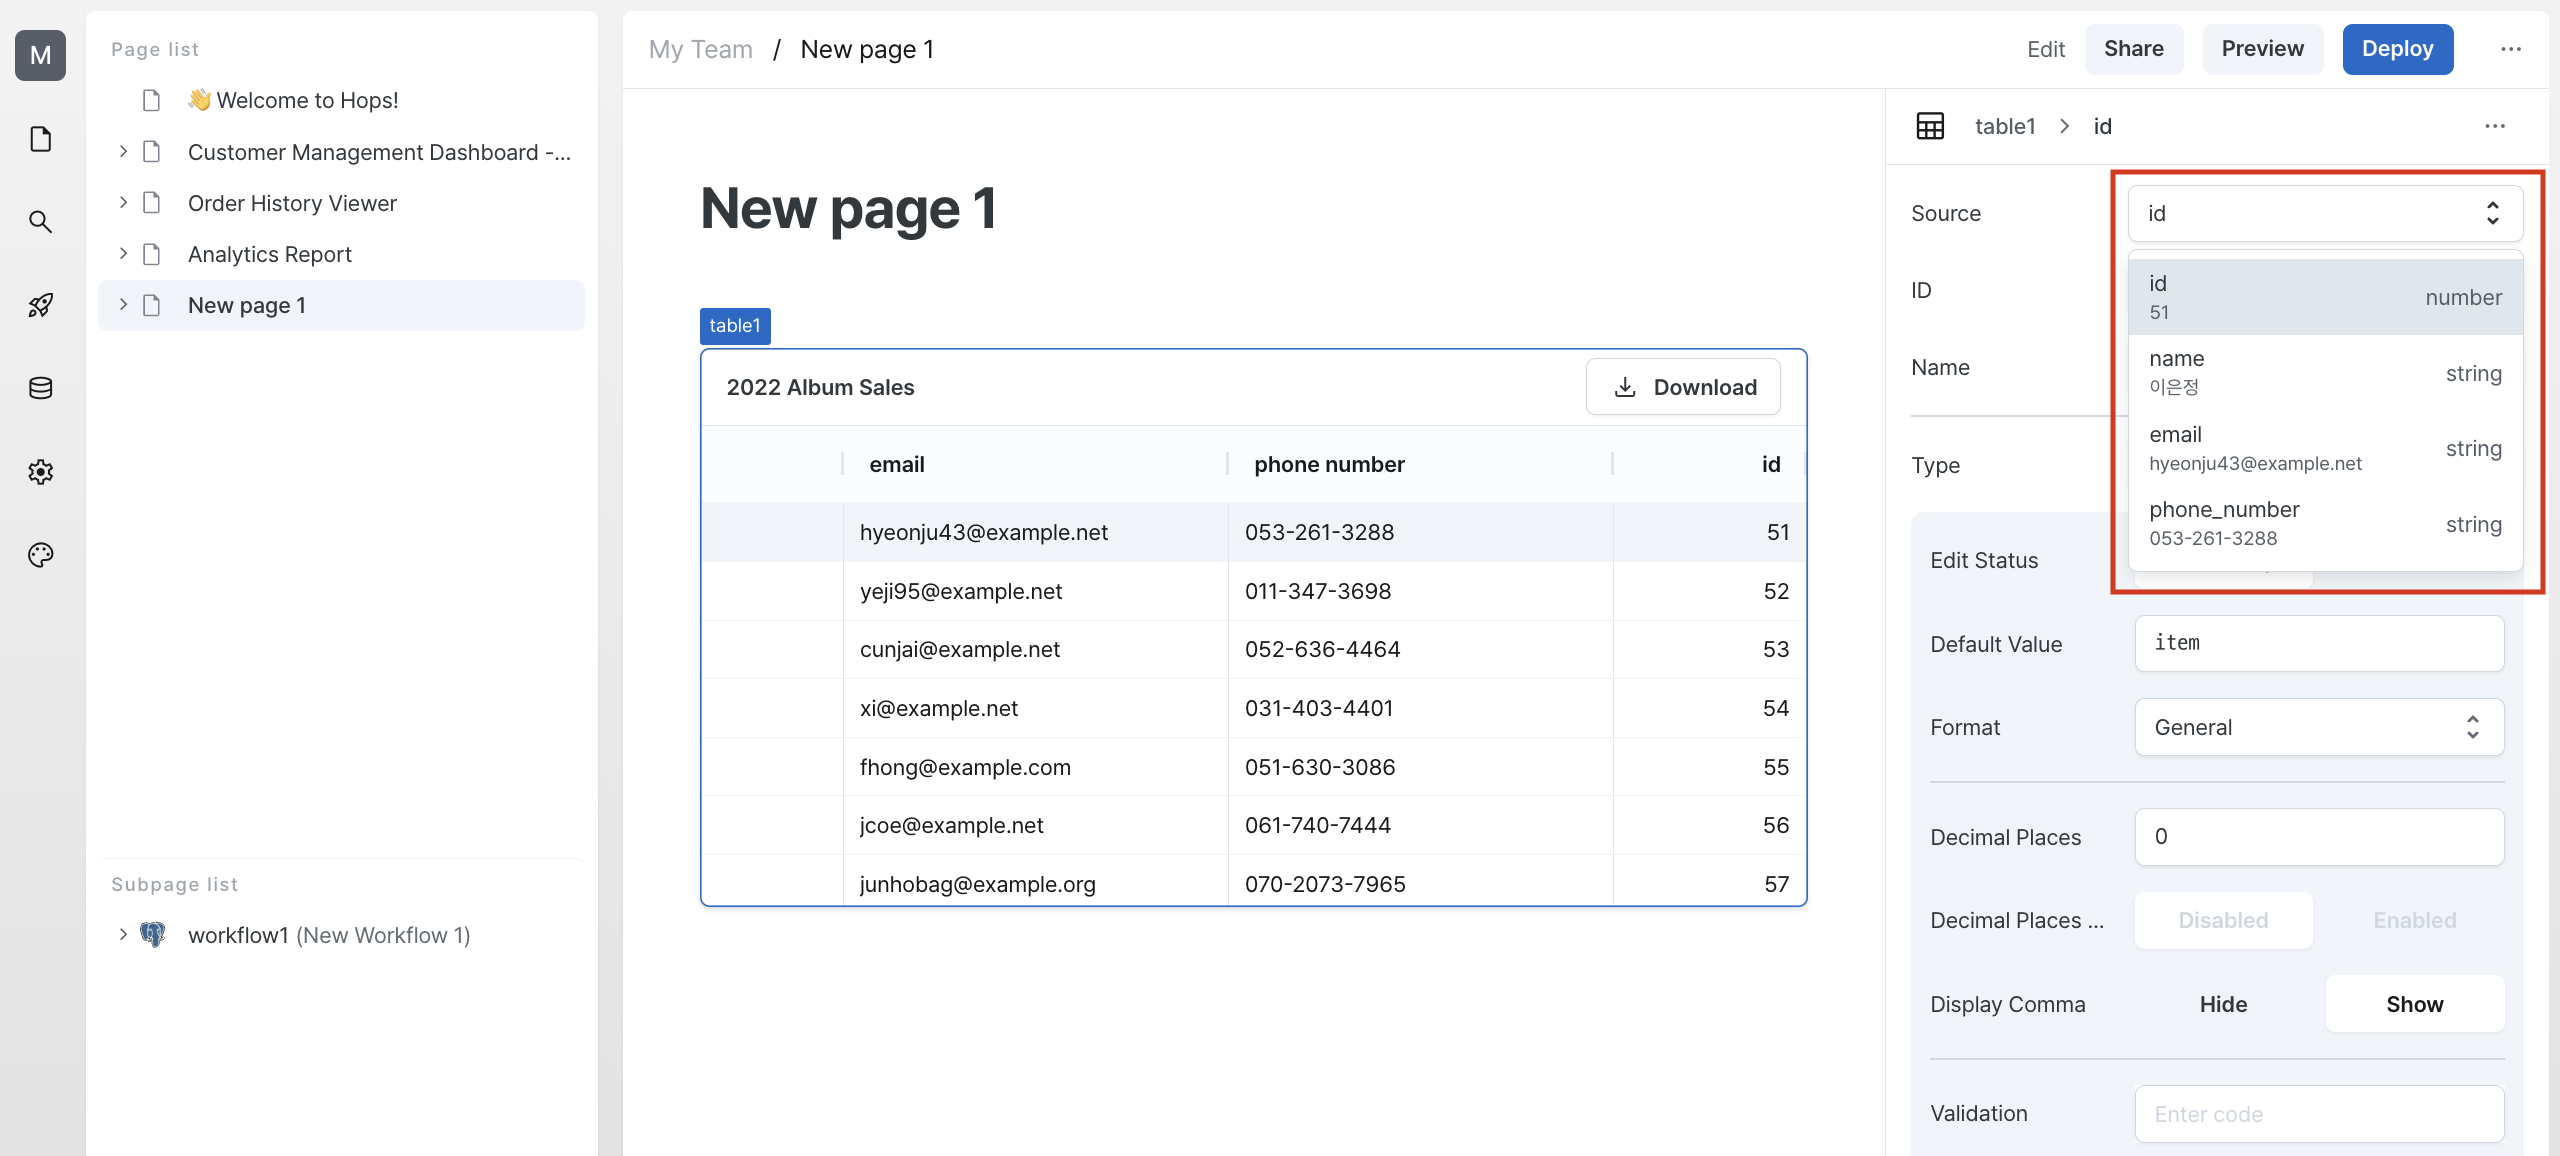
First, let's change the column's data source. You can change the source by selecting from the available sources in the connected workflow at the top.
Here, we'll select id.
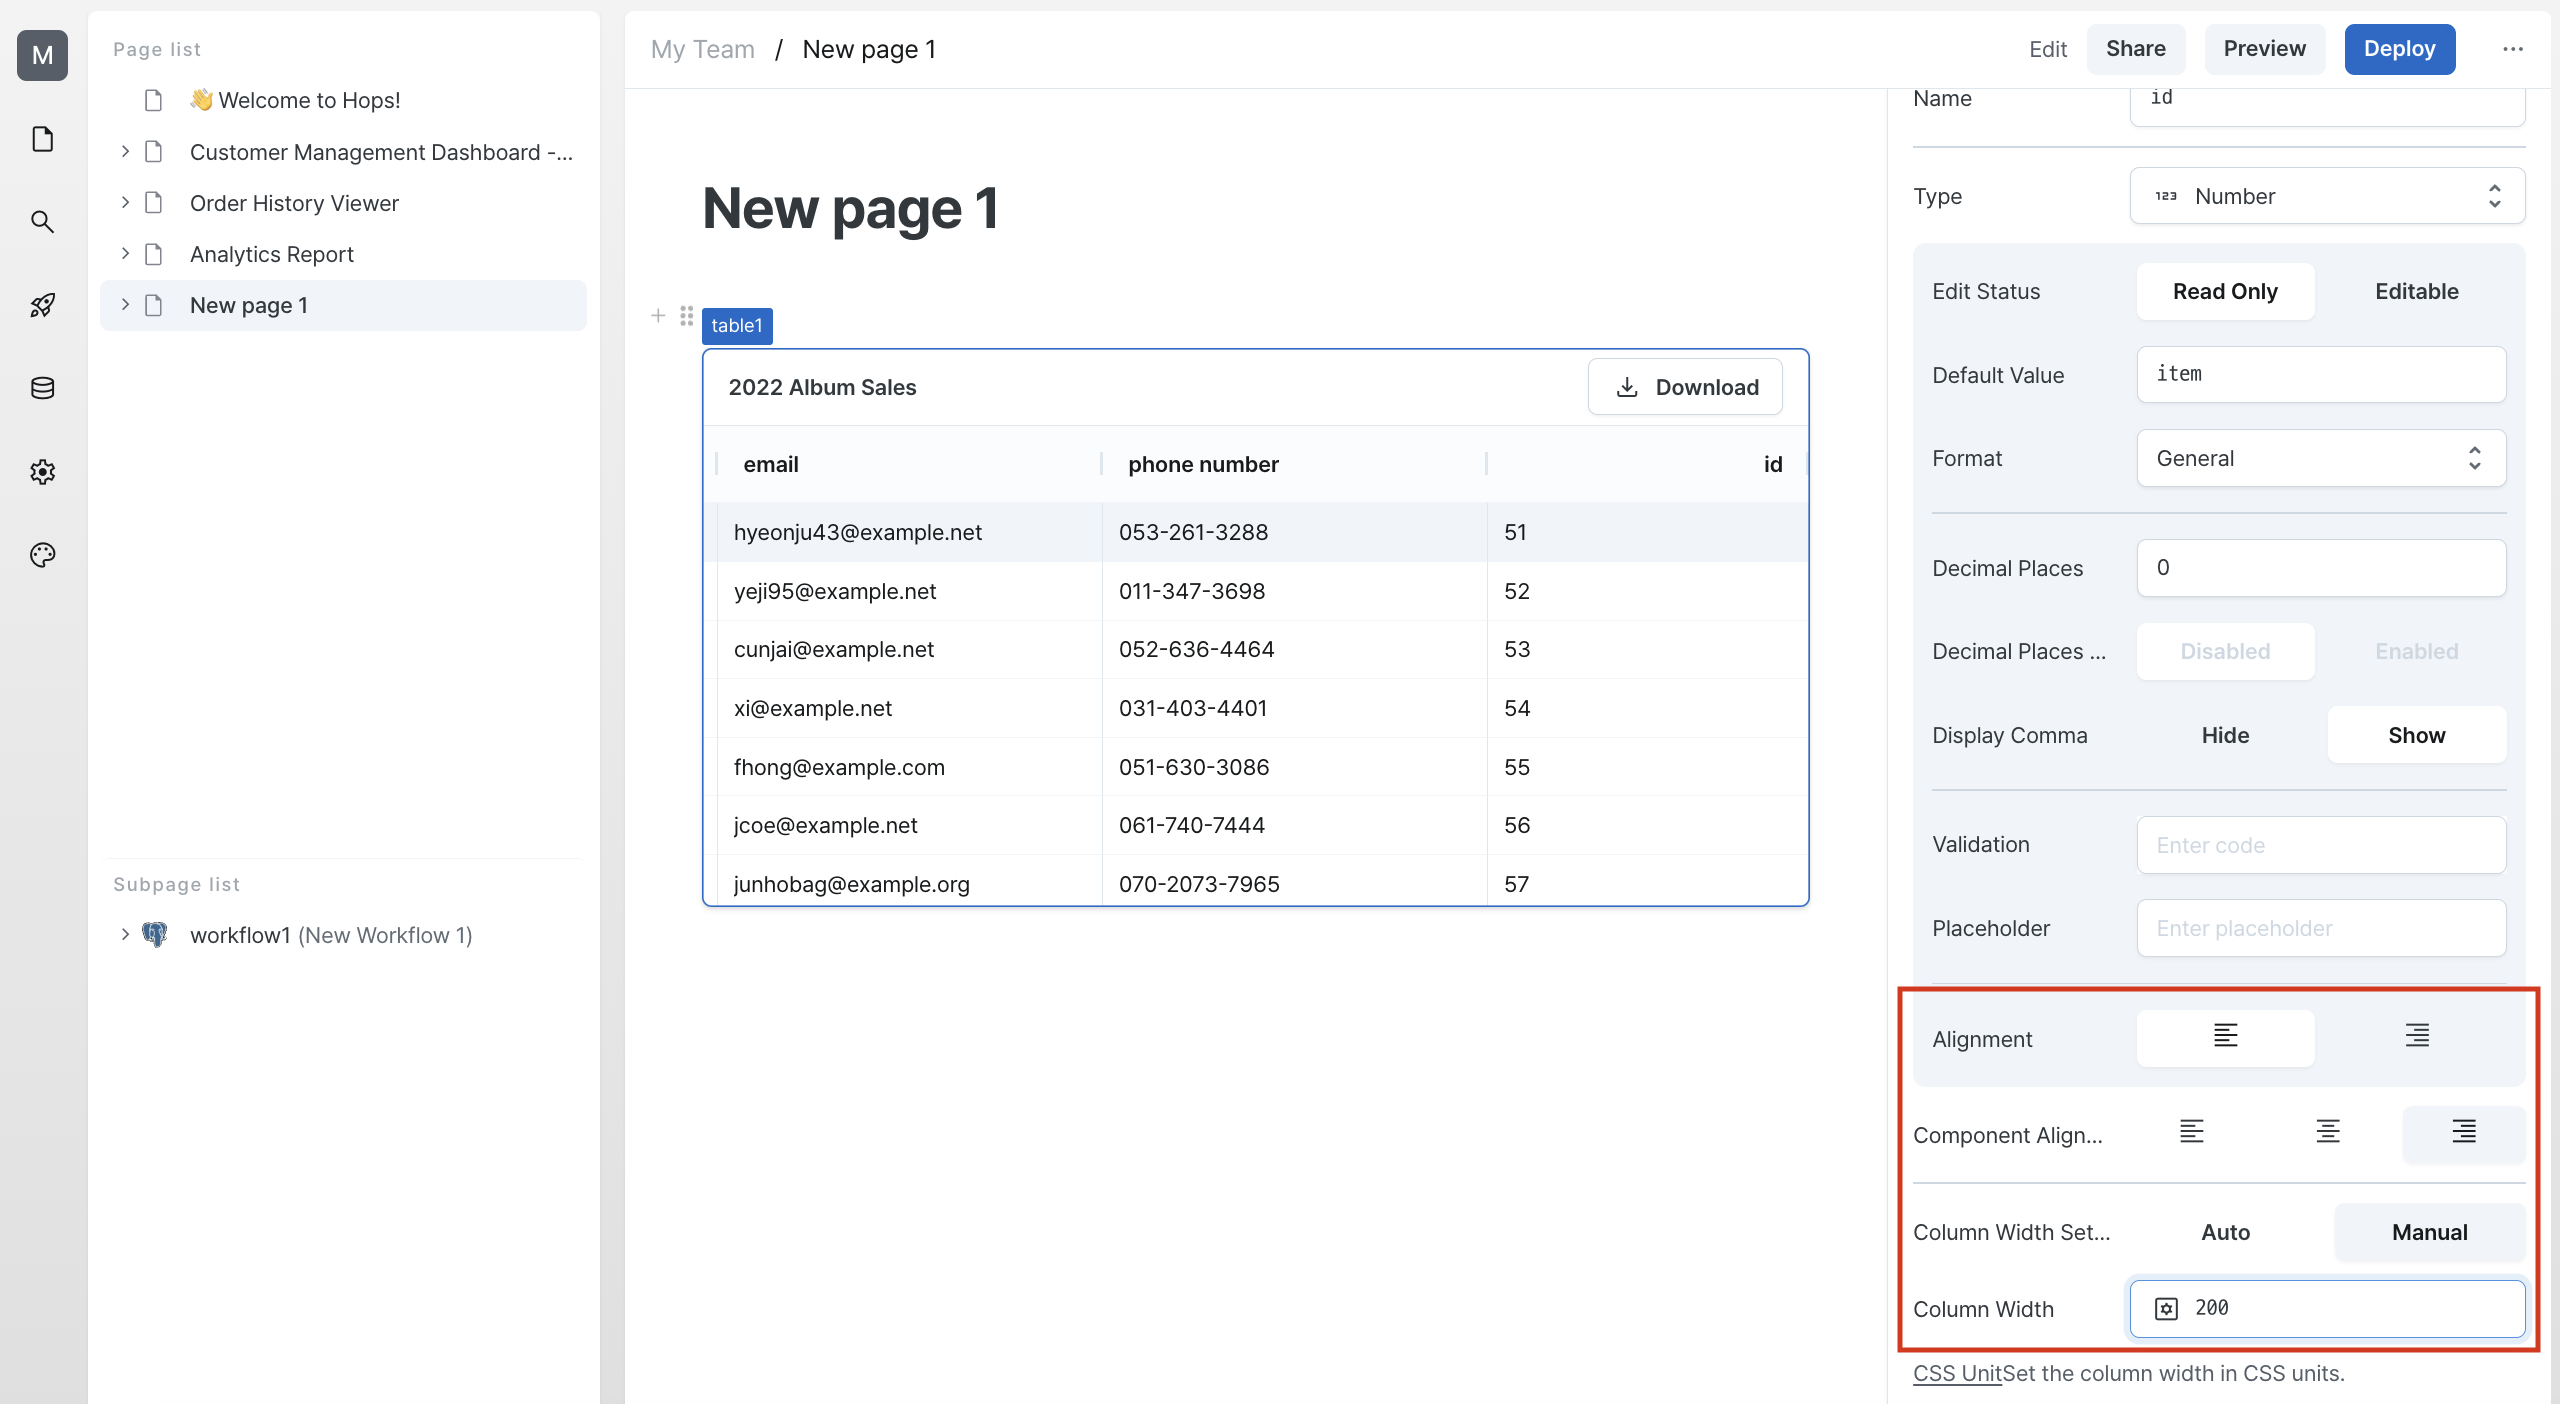
Then let's change the data alignment to left.
We'll also fix the column width to 200px.
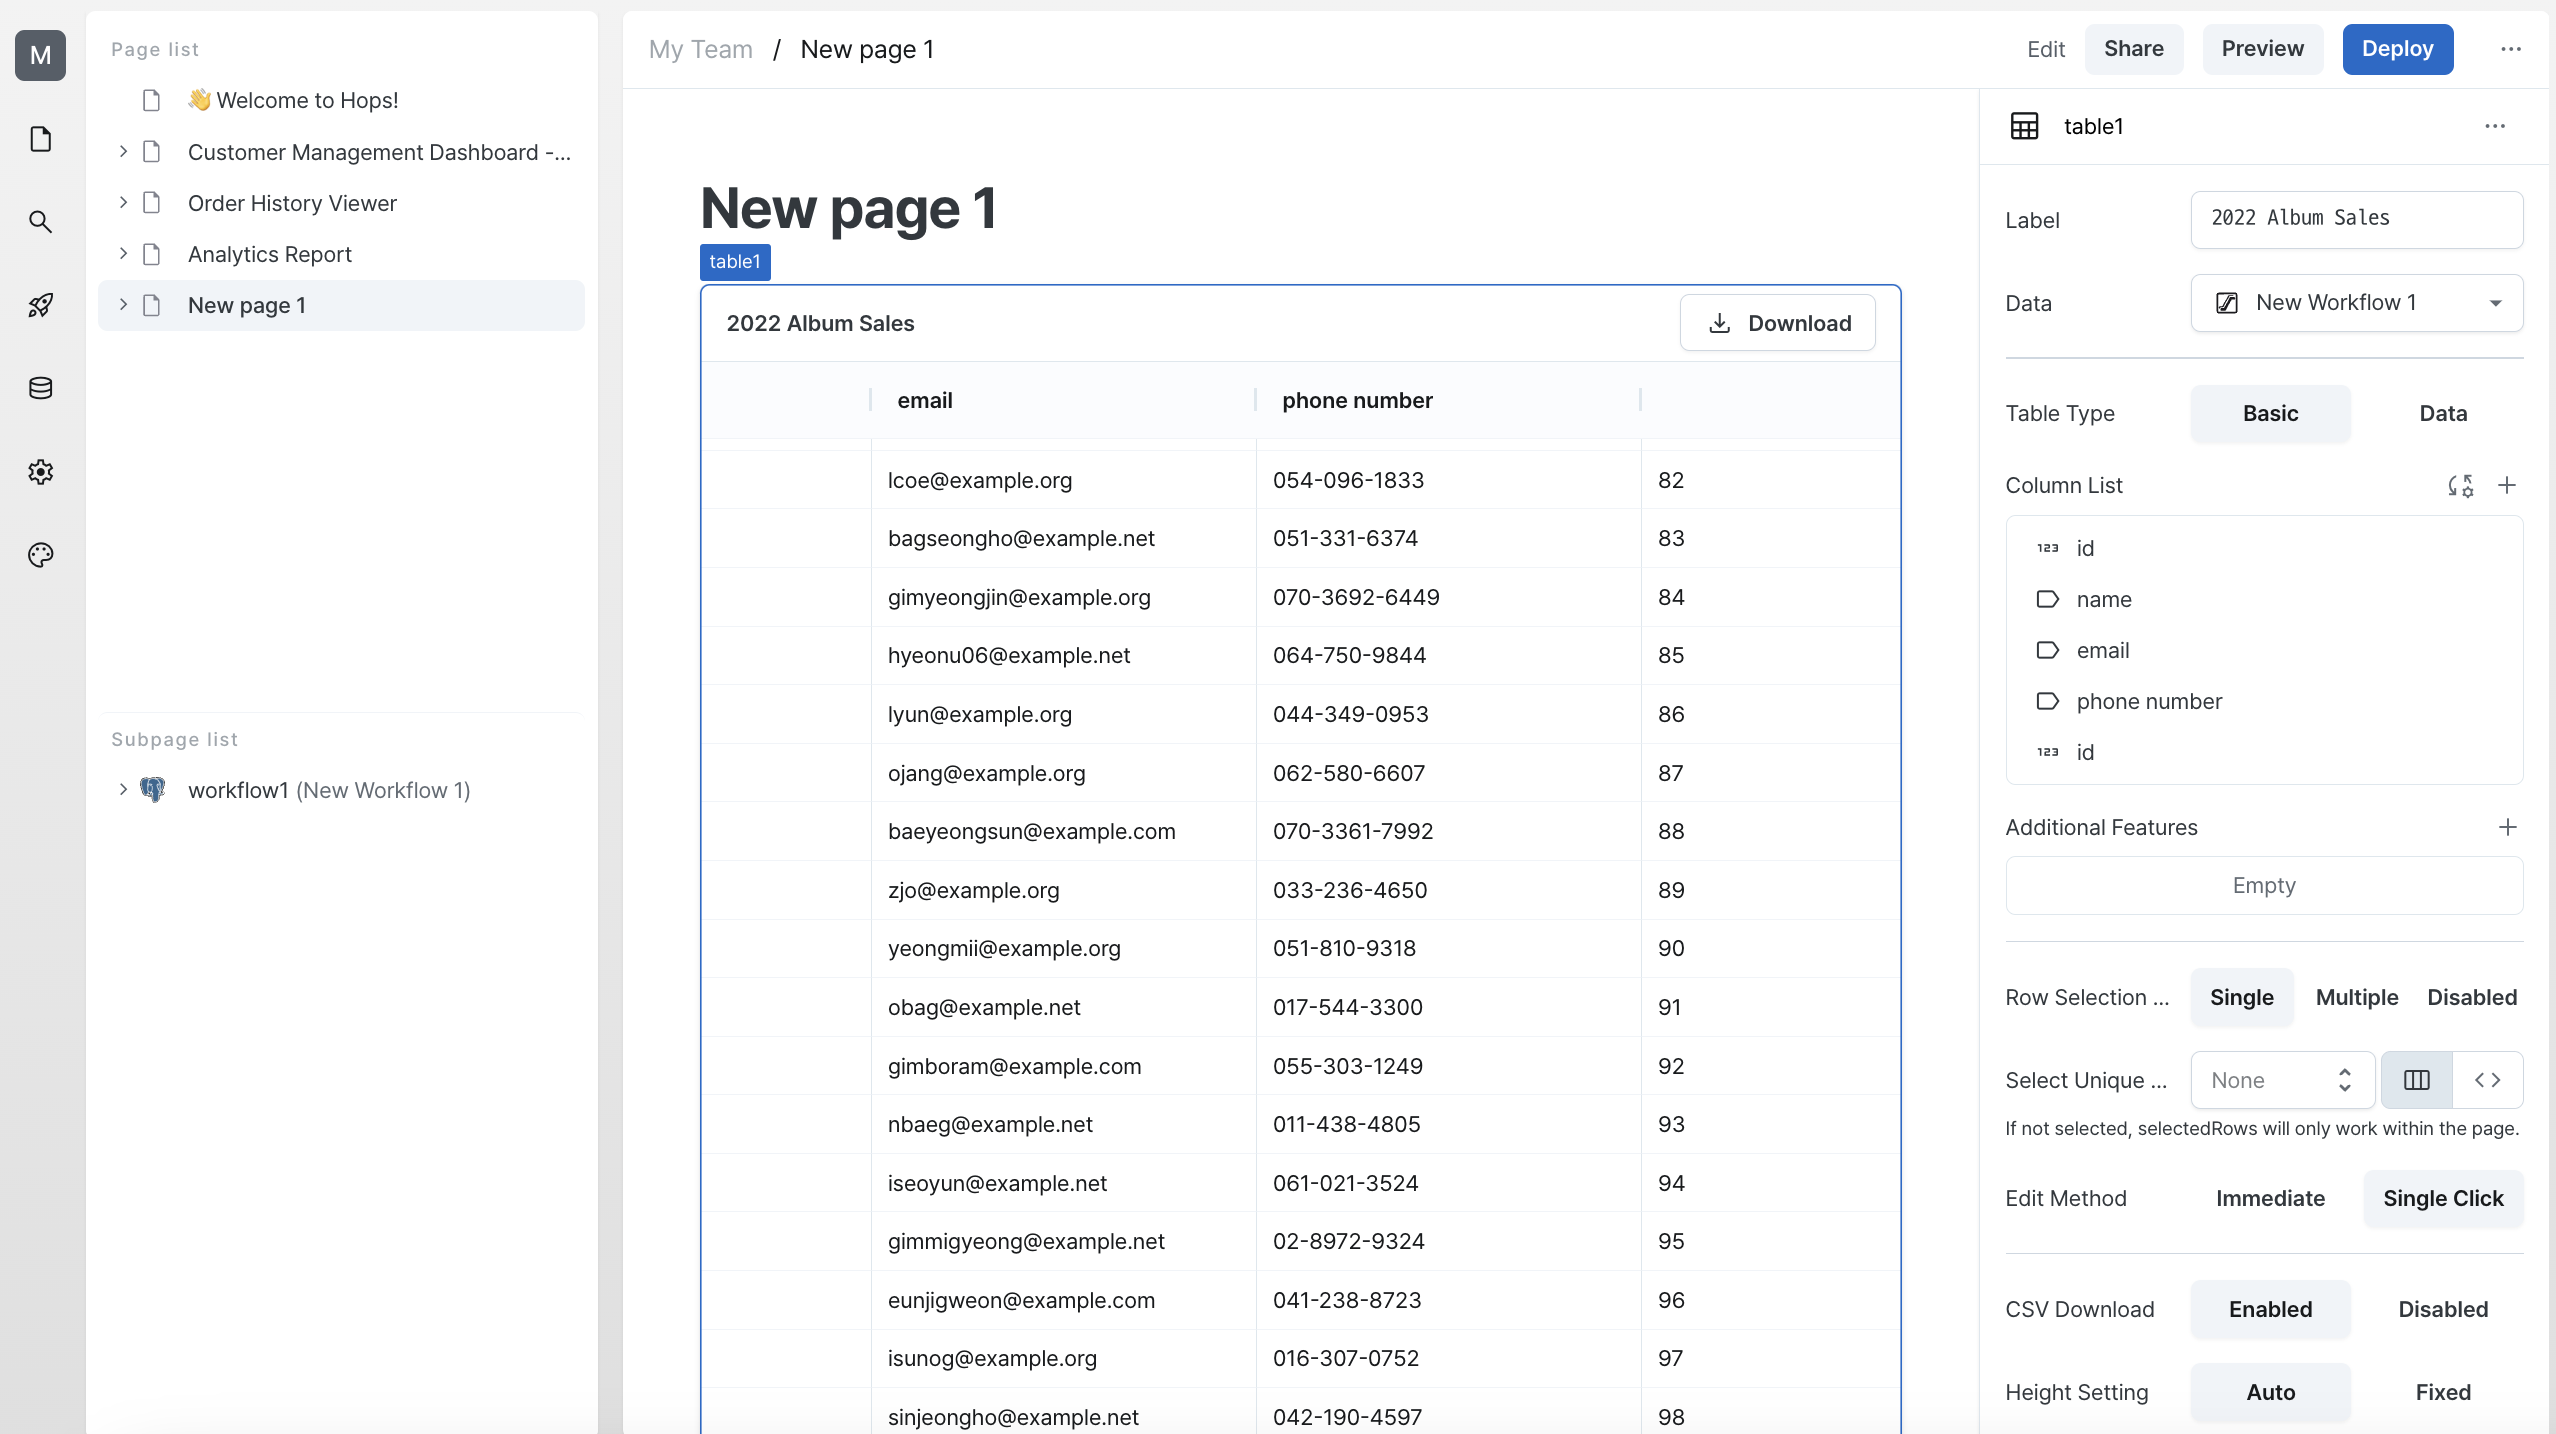
Now you can see that the column has been added to the table according to our settings.
Learn More
In this tutorial, we showed you how to configure table columns.
Through more upcoming tutorials, we'll demonstrate how quickly and easily you can develop admin and back-office applications using Hops.