Creating a Table Data Search Feature
In the previous tutorial, we learned about configuring table columns.
In this tutorial, I'll show you how to create a feature to search table data.
Adding a Text Field Component
First, let's create a text field component below the table component we made last time.
Type / to see a list of components you can add.
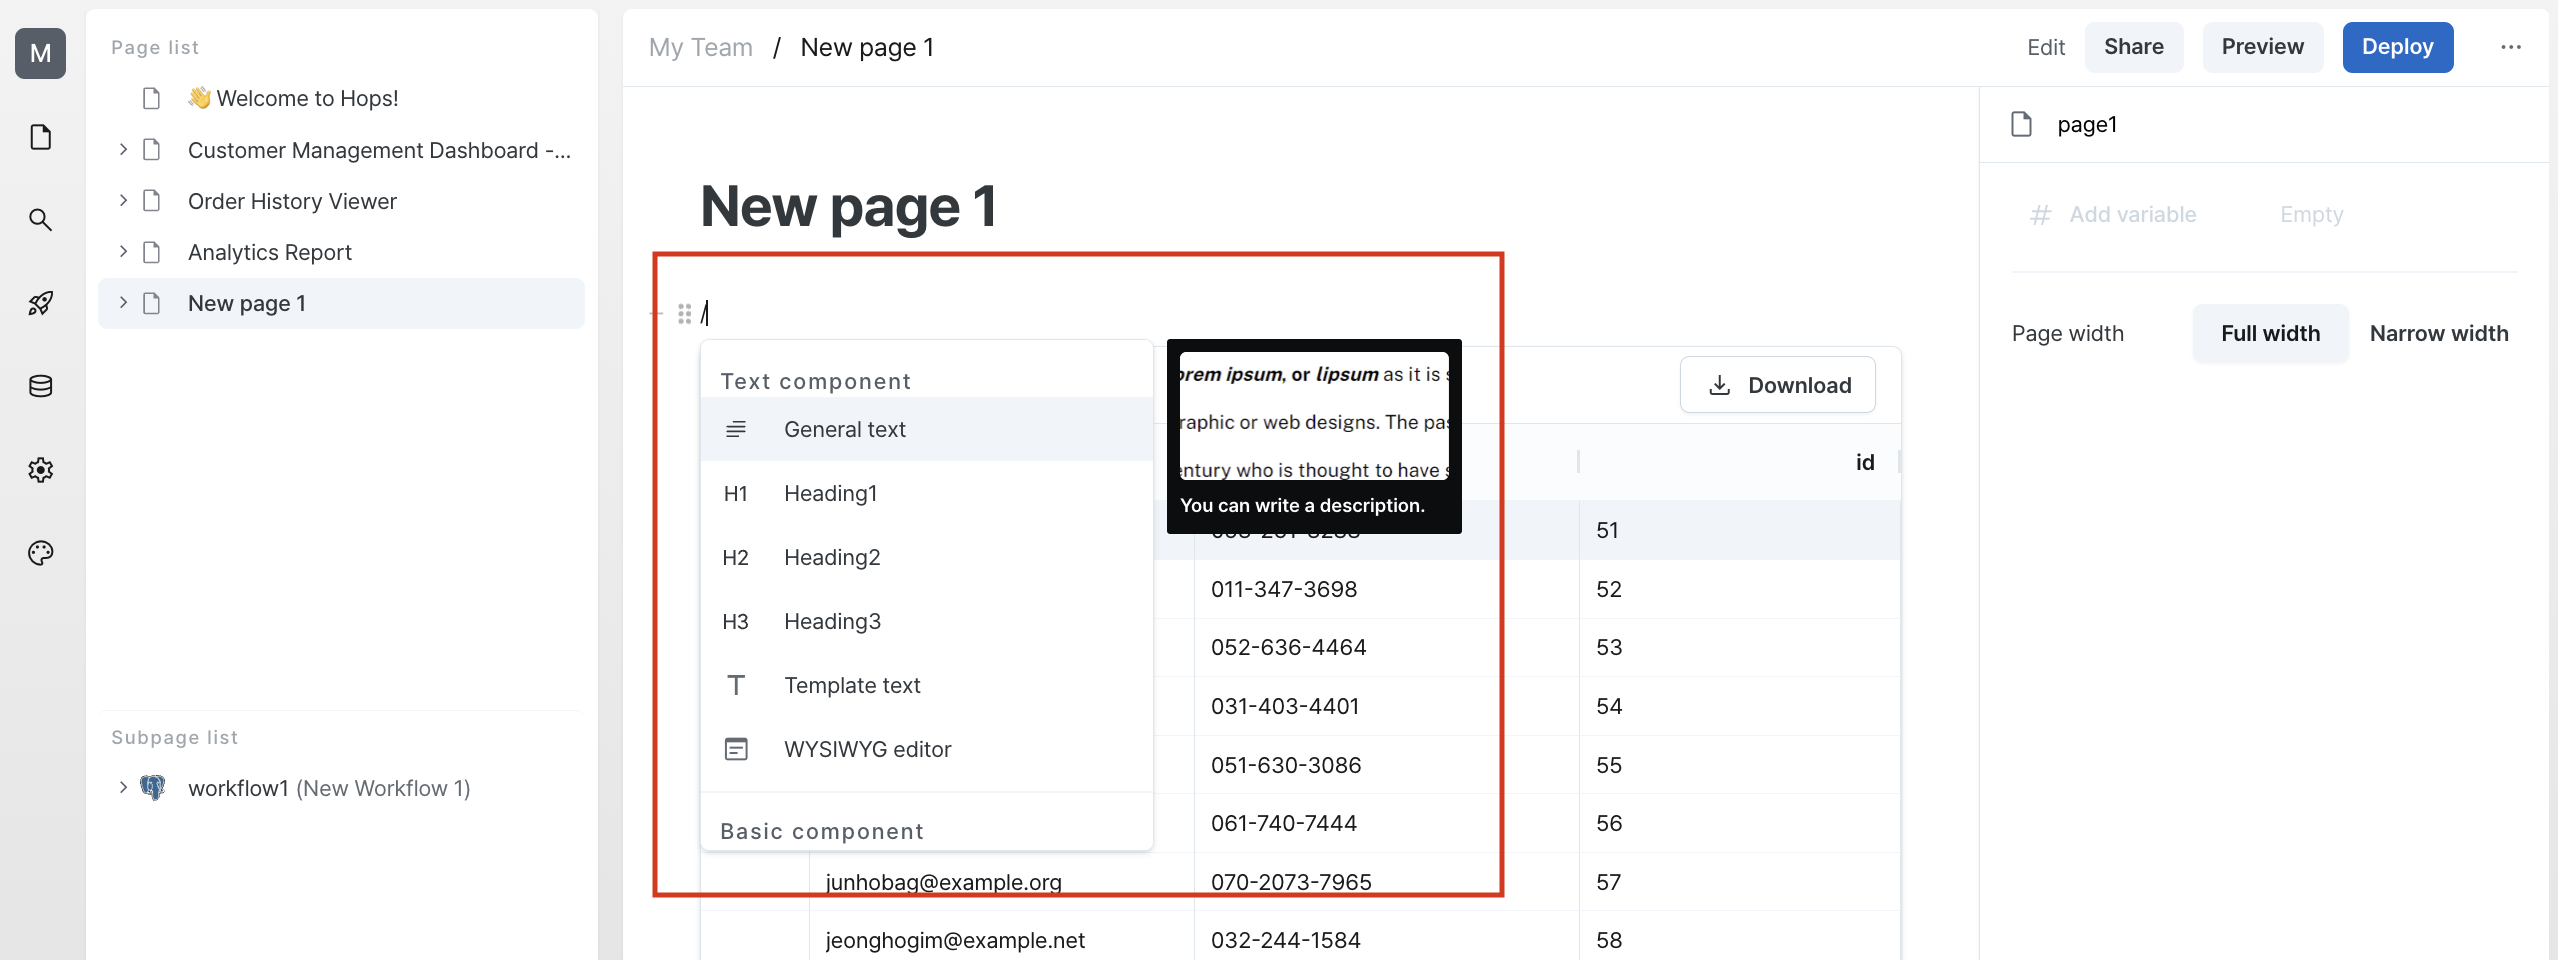
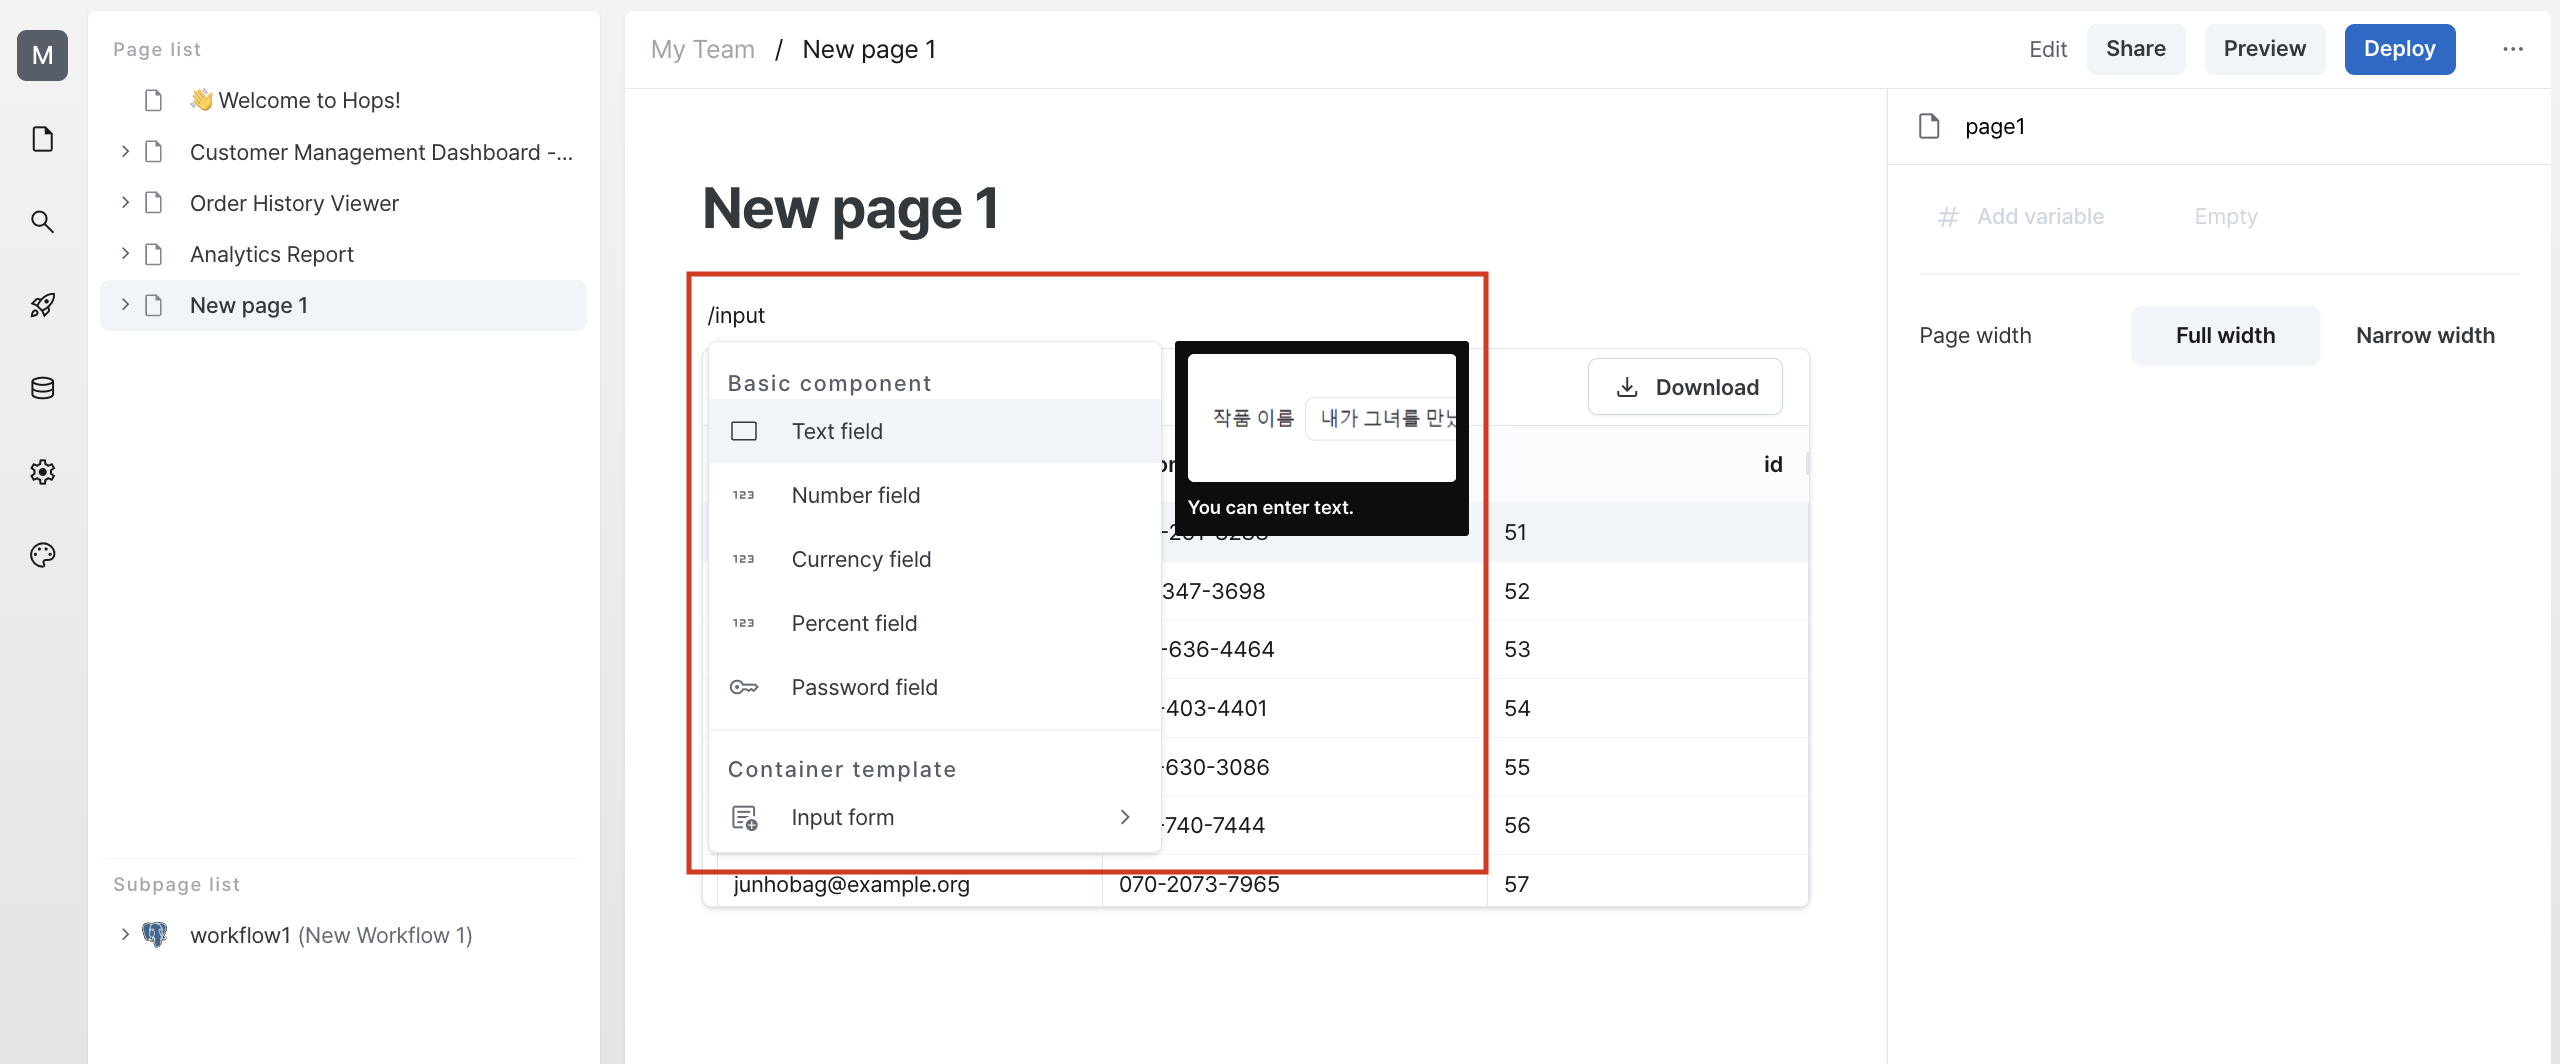
Then enter input to add a text field.
You can also search and add it using various terms like input, text, text field, etc.
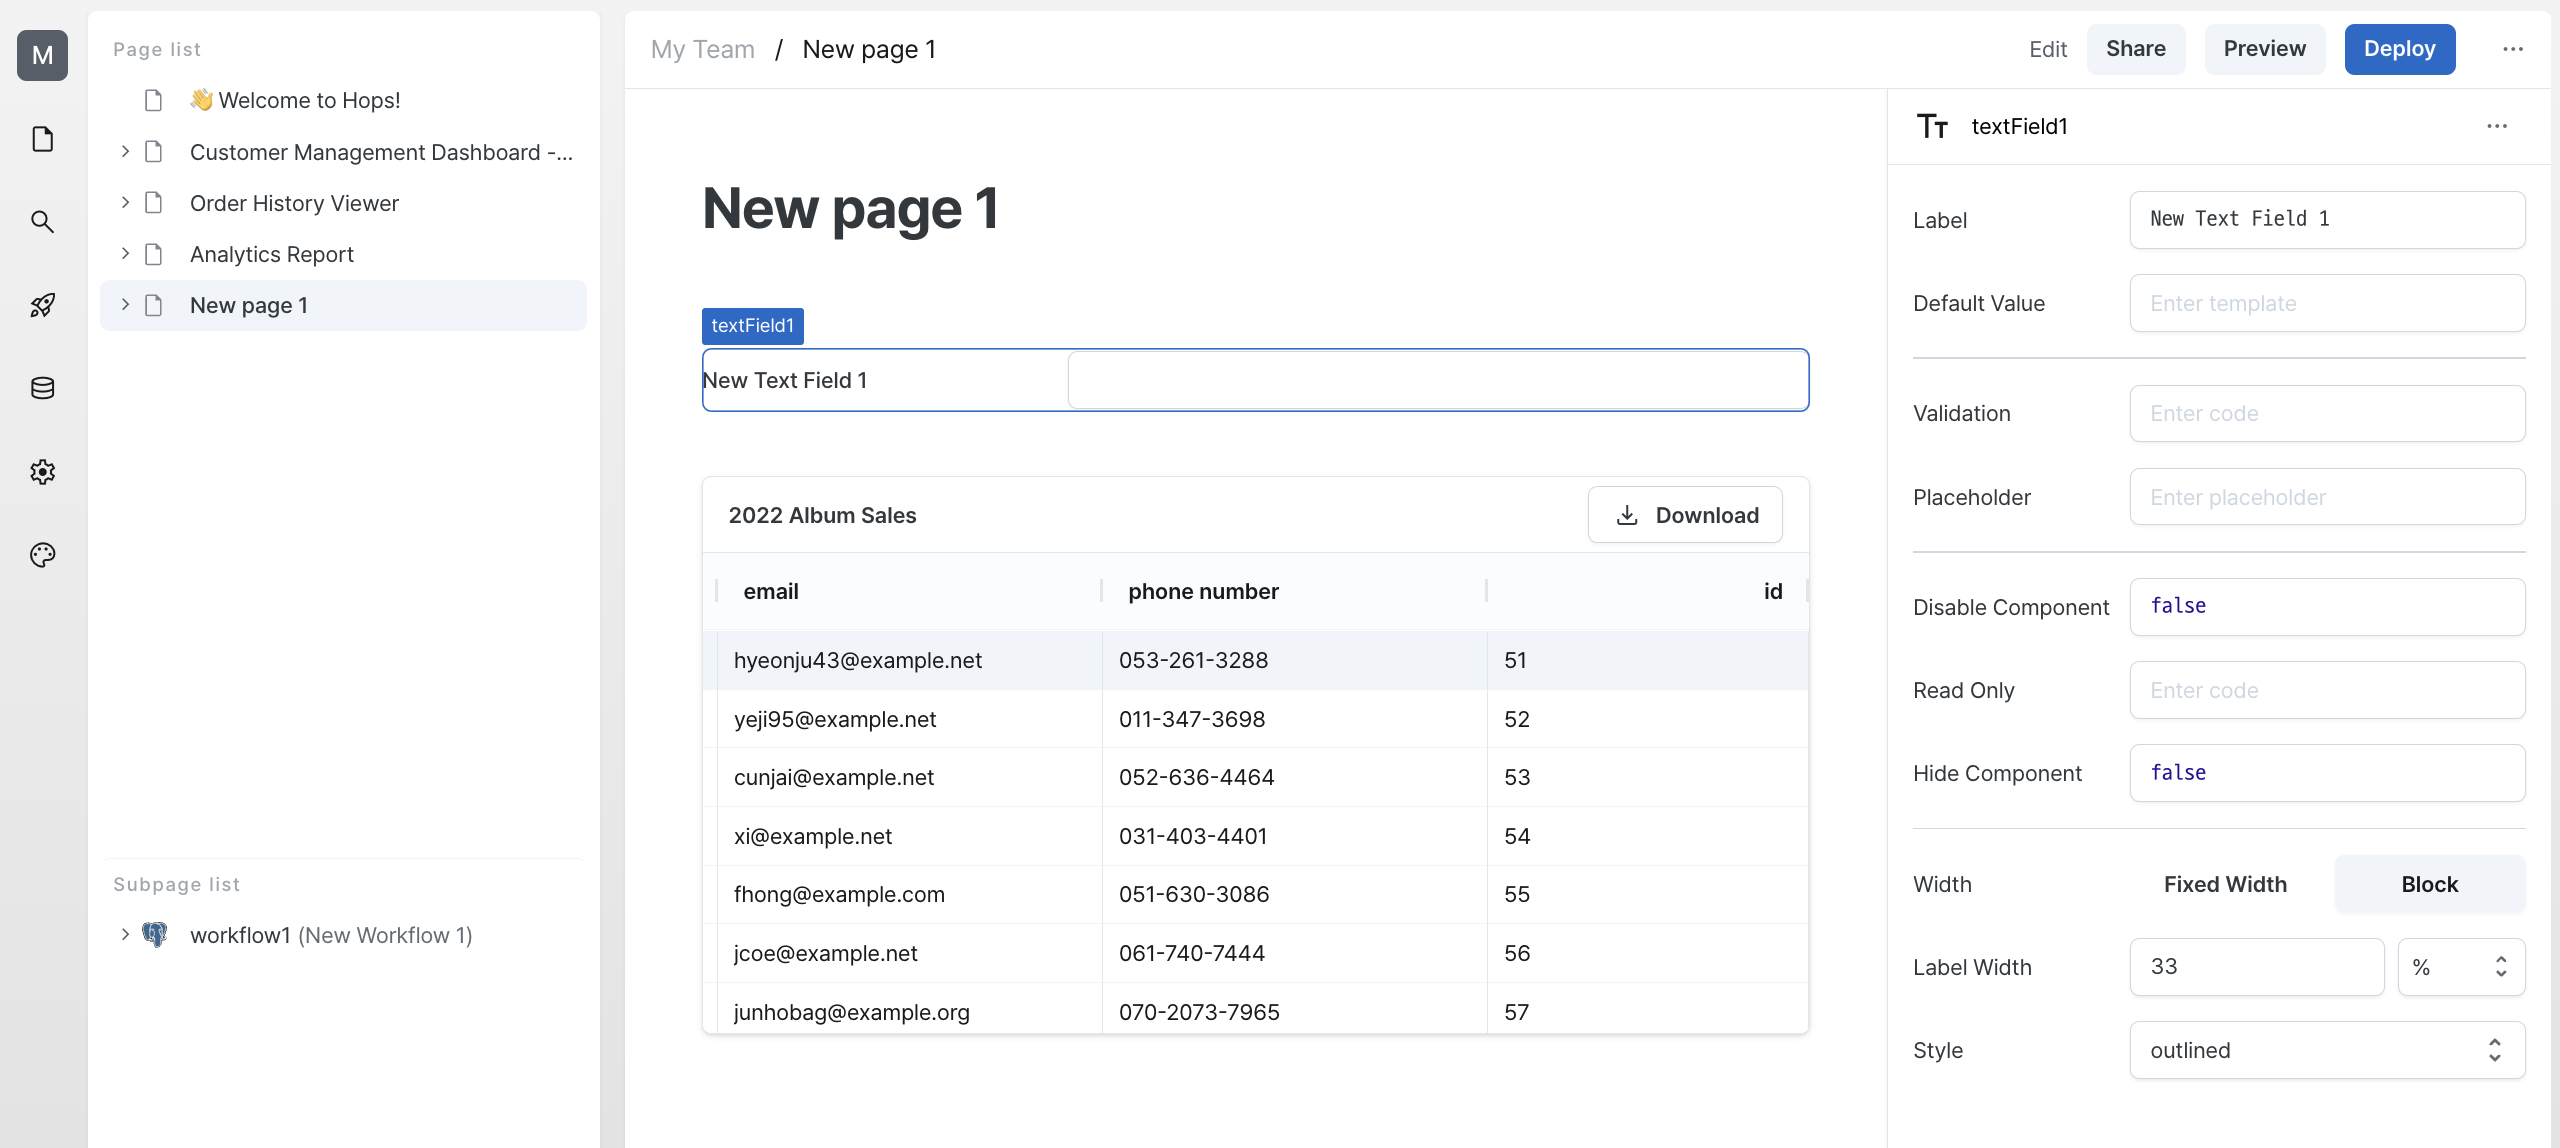
Once the text field component is added, you can check its name and label in the properties.
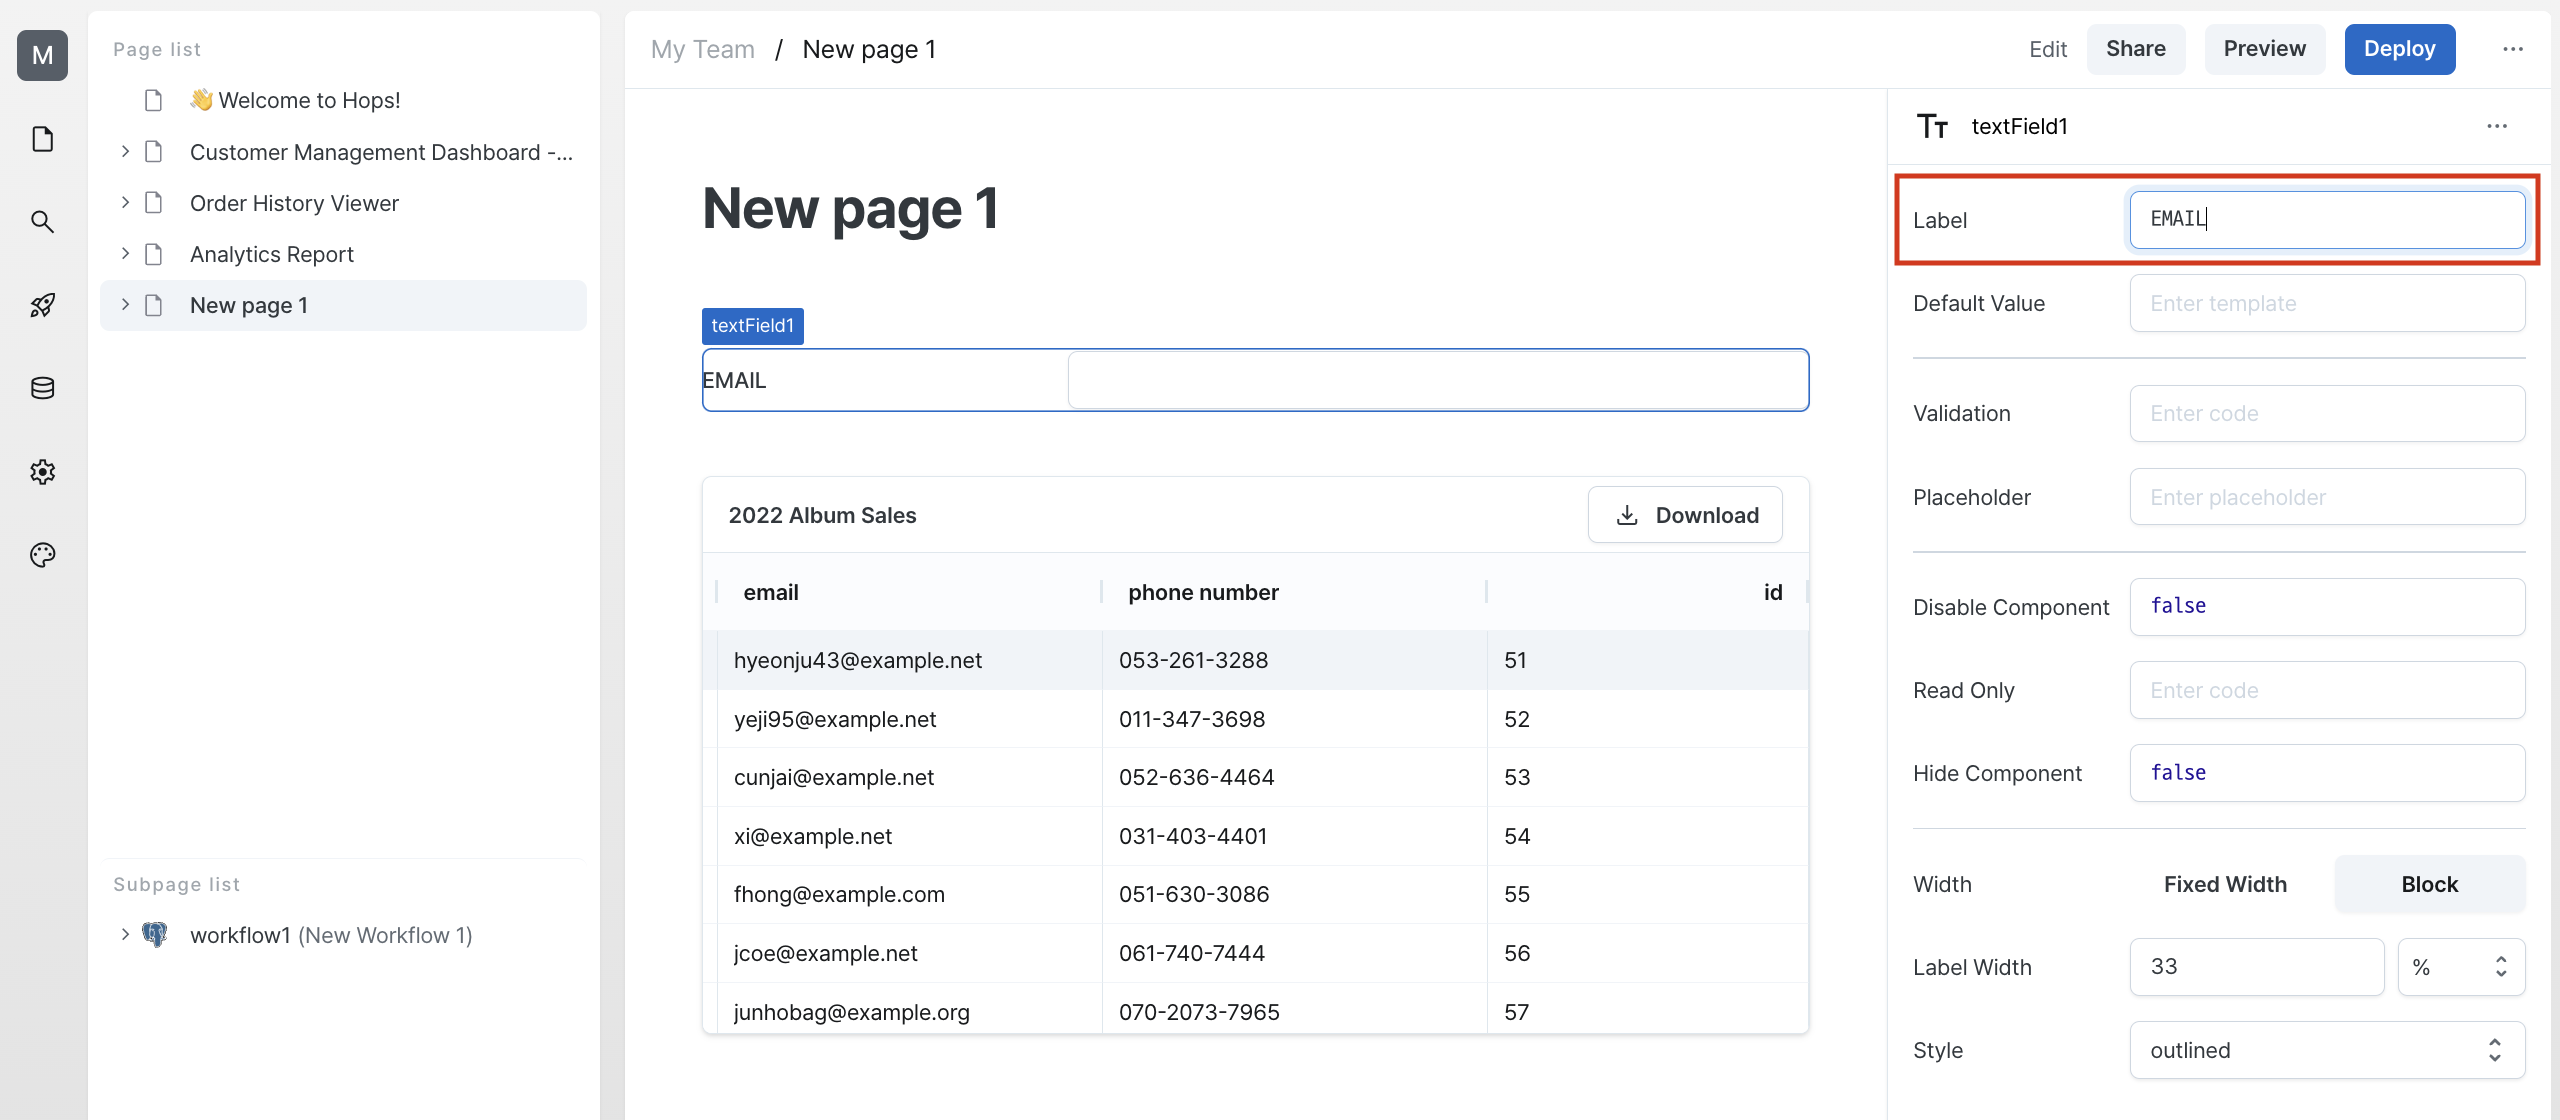
Now let's change the label to EMAIL.
Using Text Field Input Values in Table Workflow
Next, let's write a workflow to search the table data.
Let's modify the workflow we created in the first tutorial.
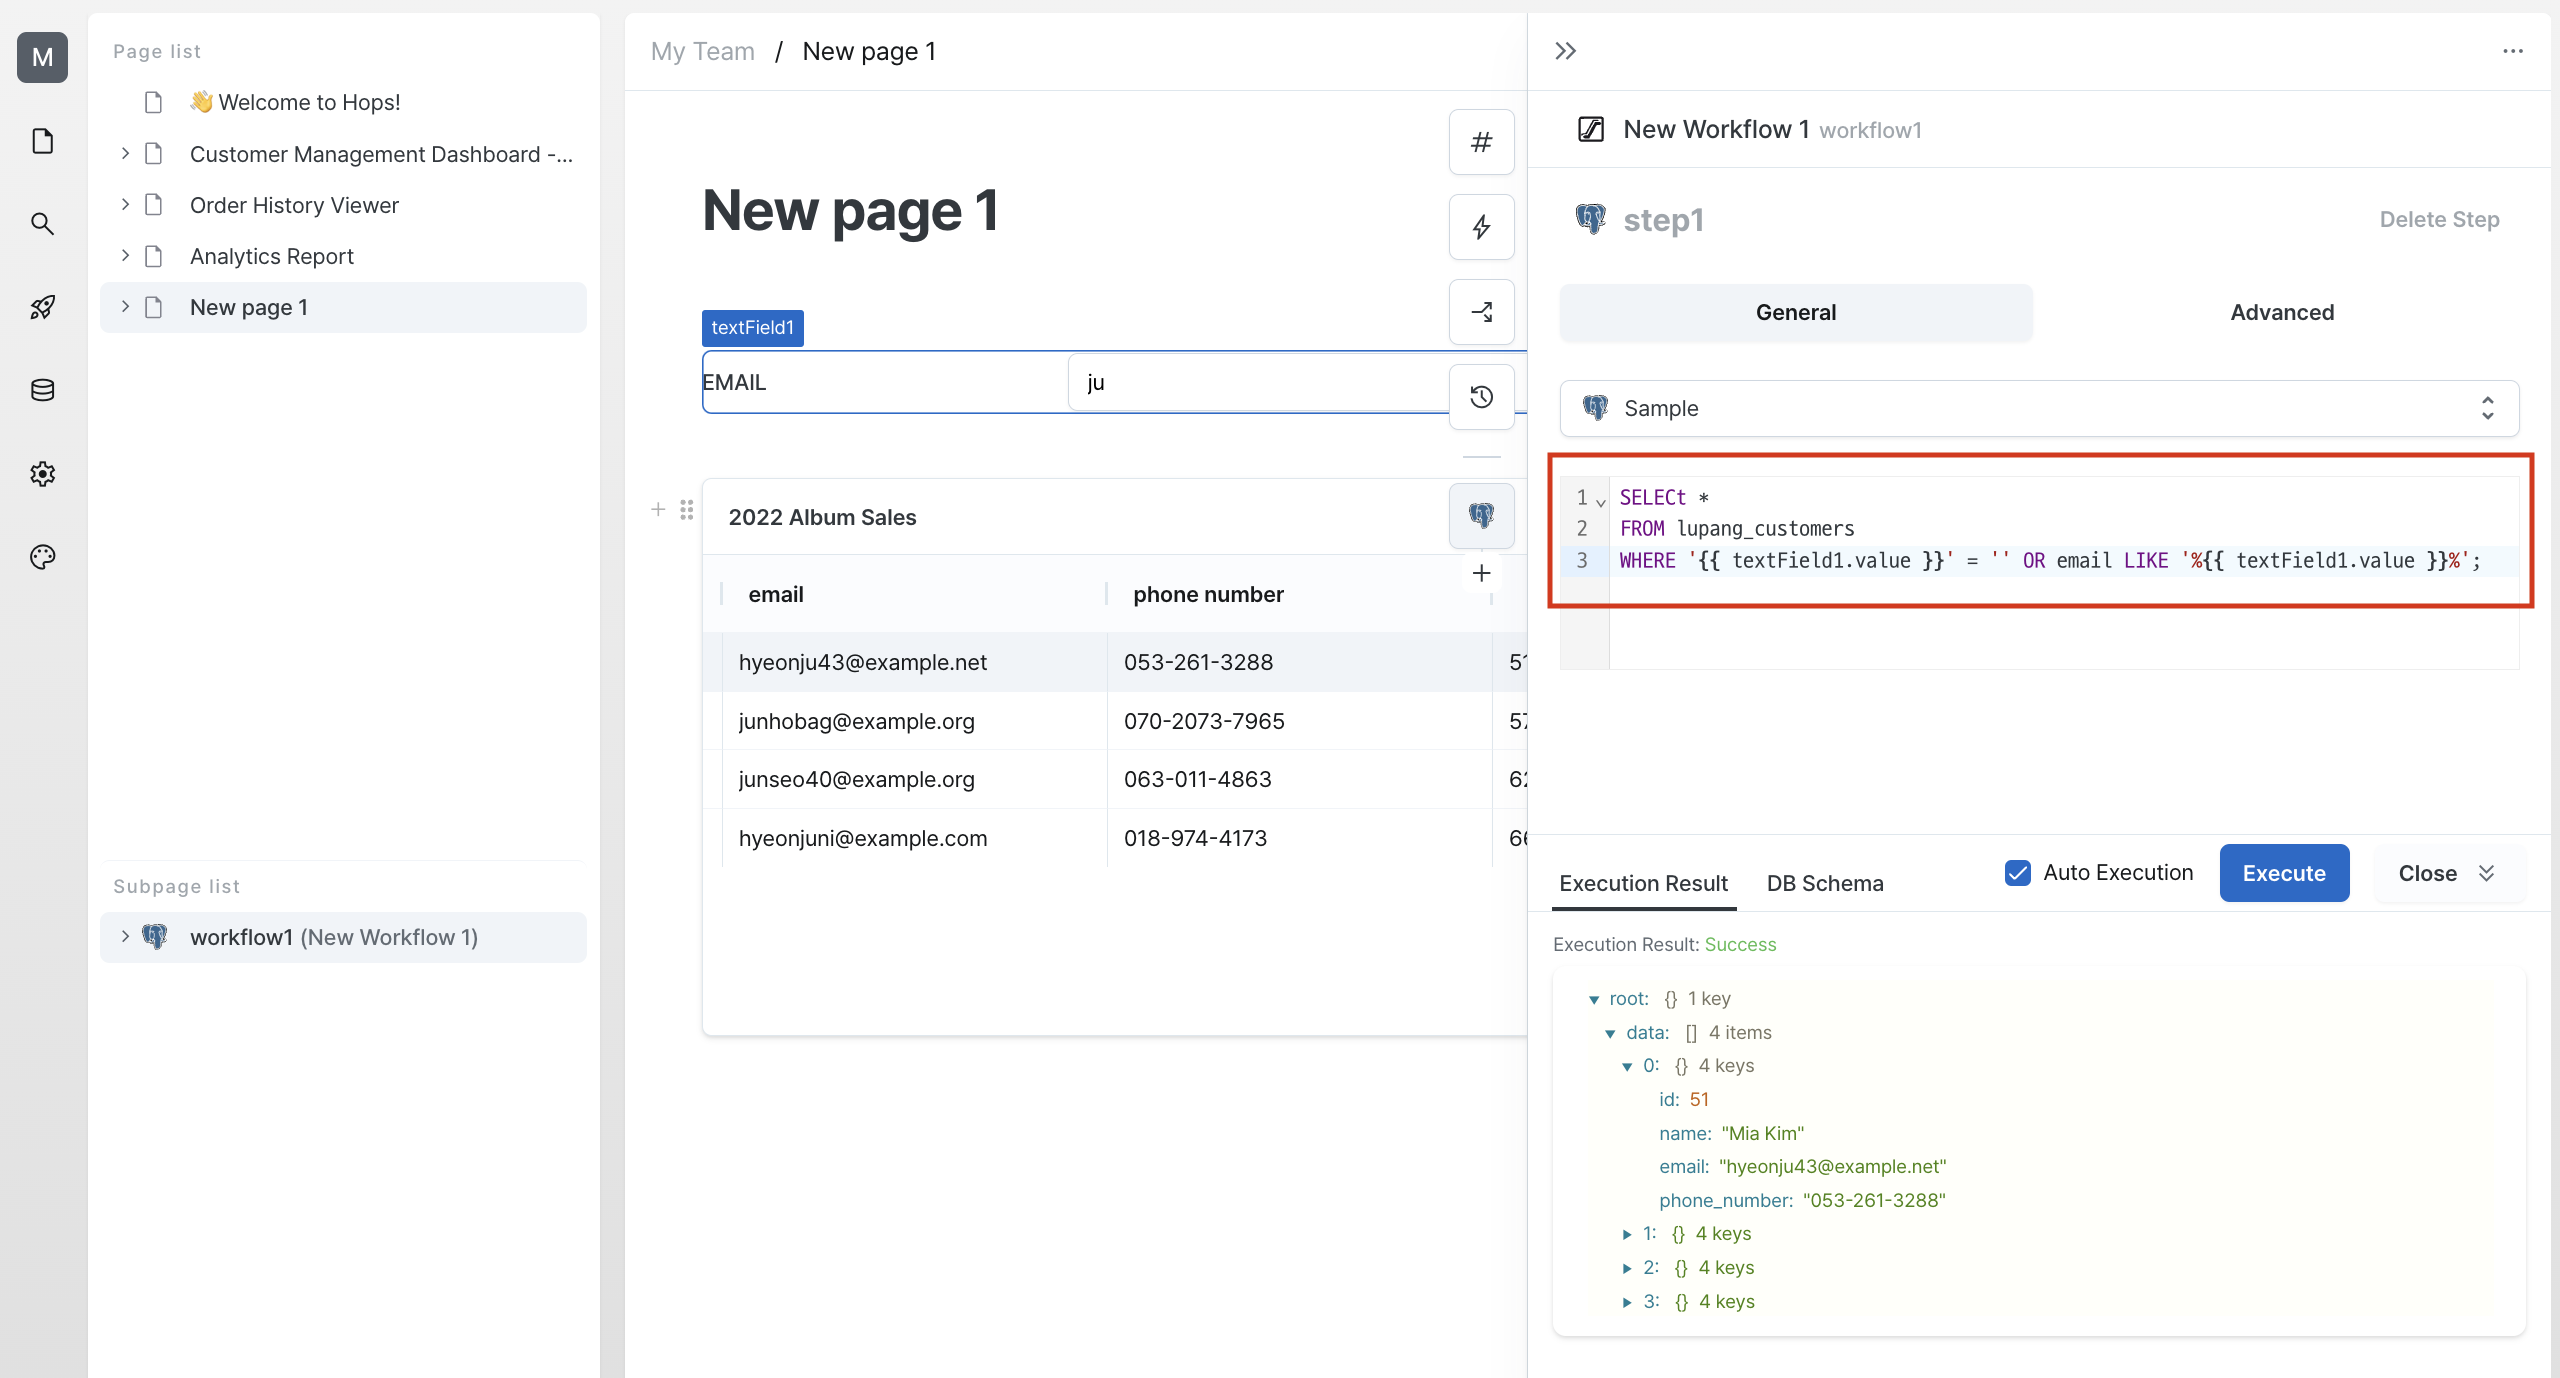
You can use templates by utilizing {{}} in SQL.
Using the text field name we checked earlier, we can get the value entered in the text field with {{ textField1.value }}.
For more information on getting component values, please refer to the Using Step Query documentation.
Then check the auto-execute option so that the table data changes when detecting changes in the text field value.
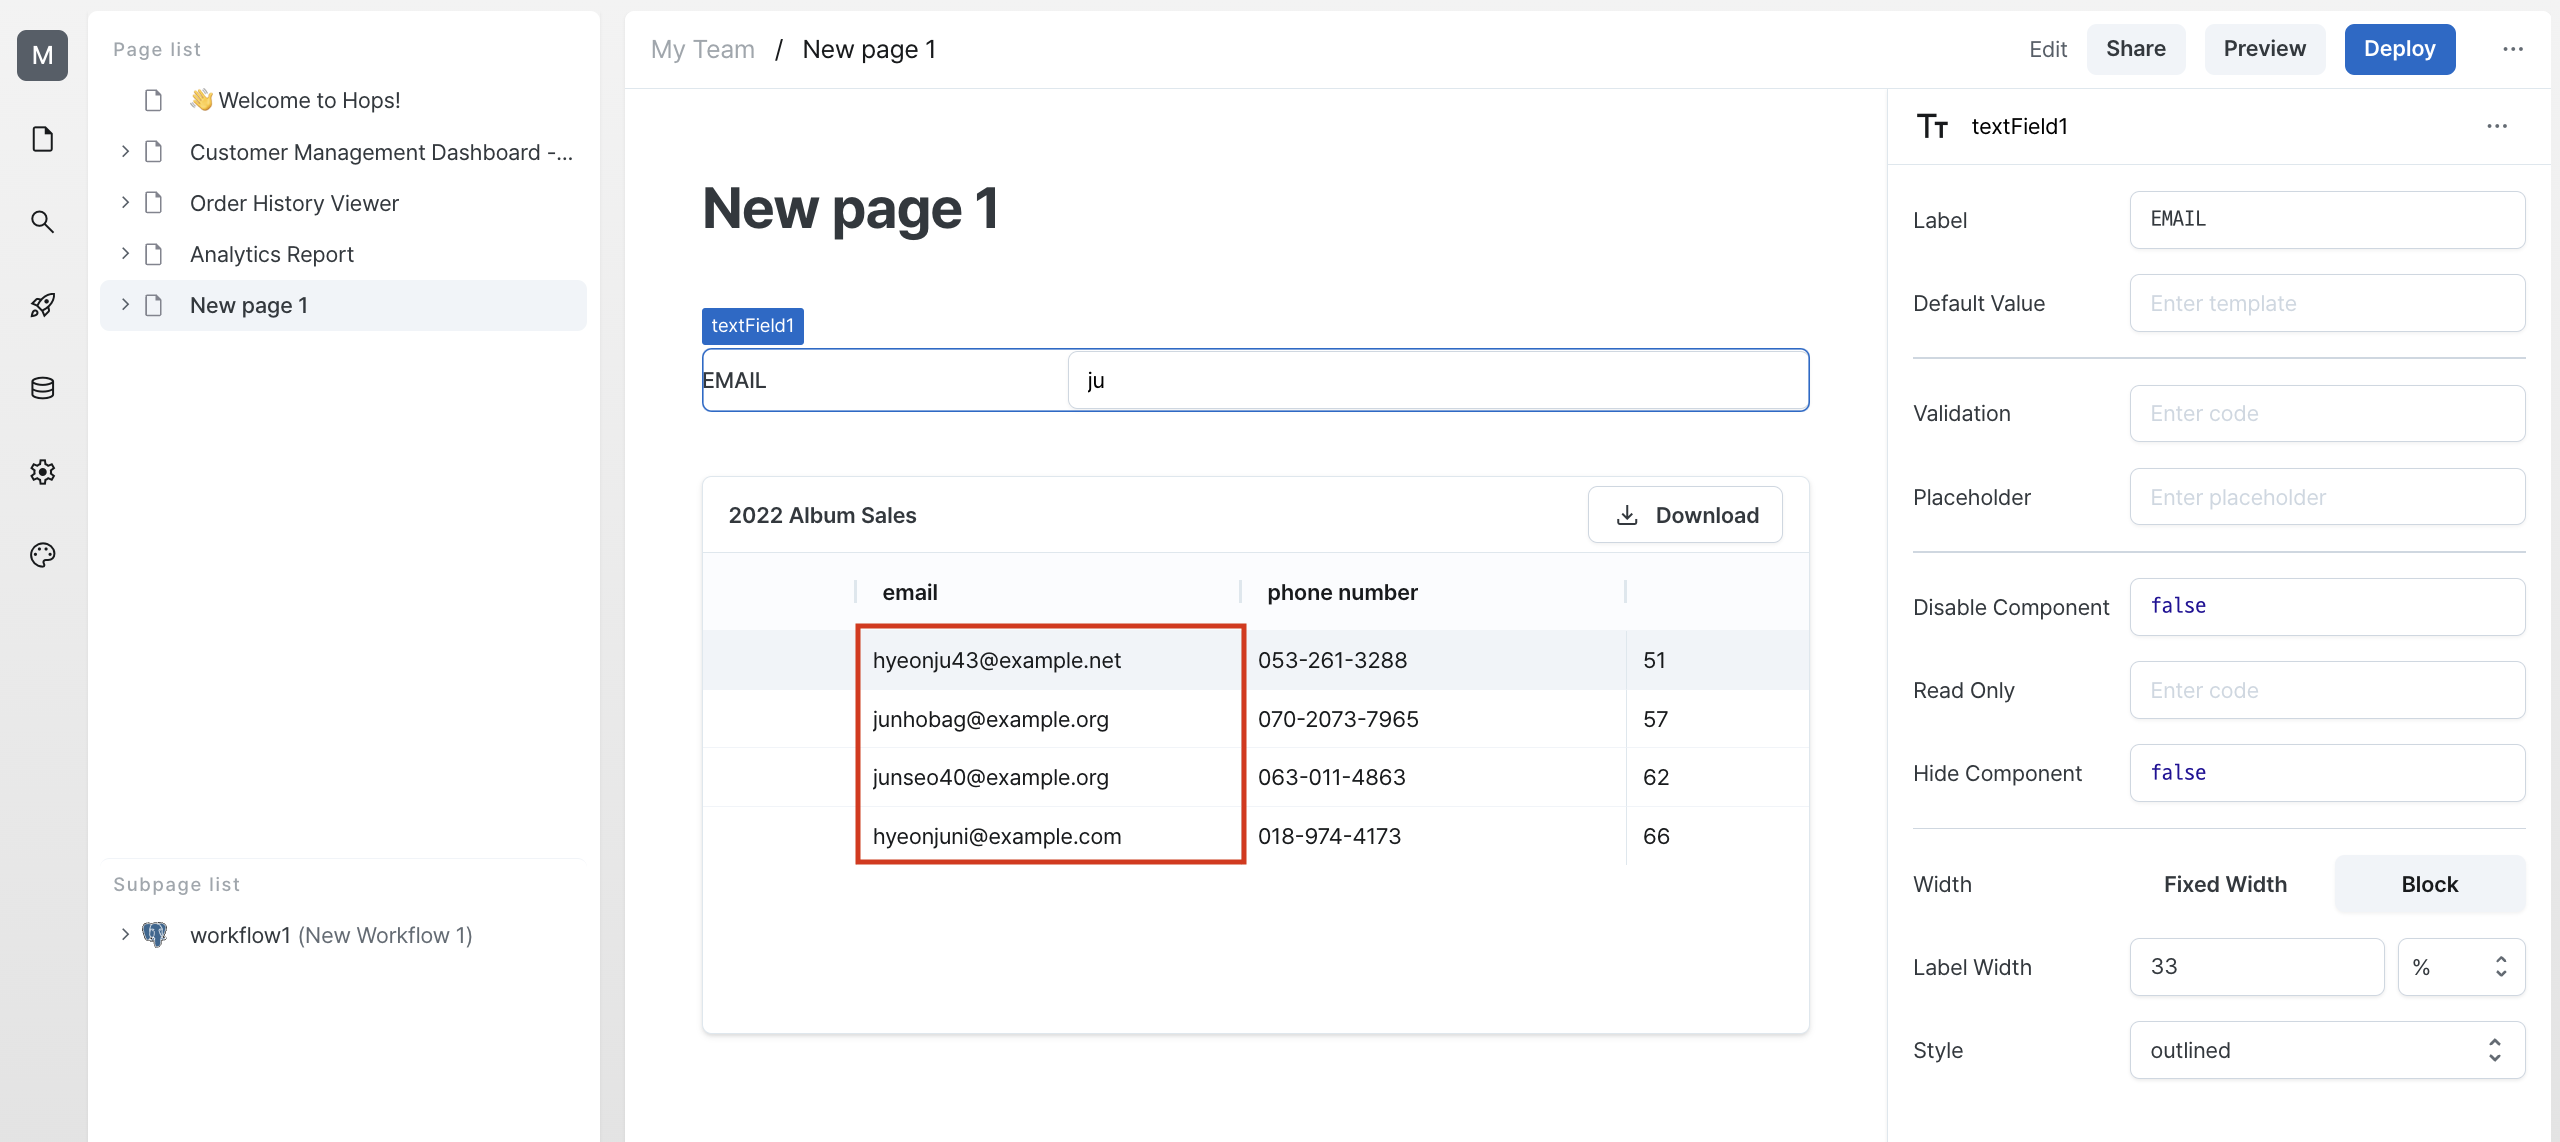
Now you can see the table values changing in real-time when you enter ju in the text field, like below.
Organizing the Search Layout
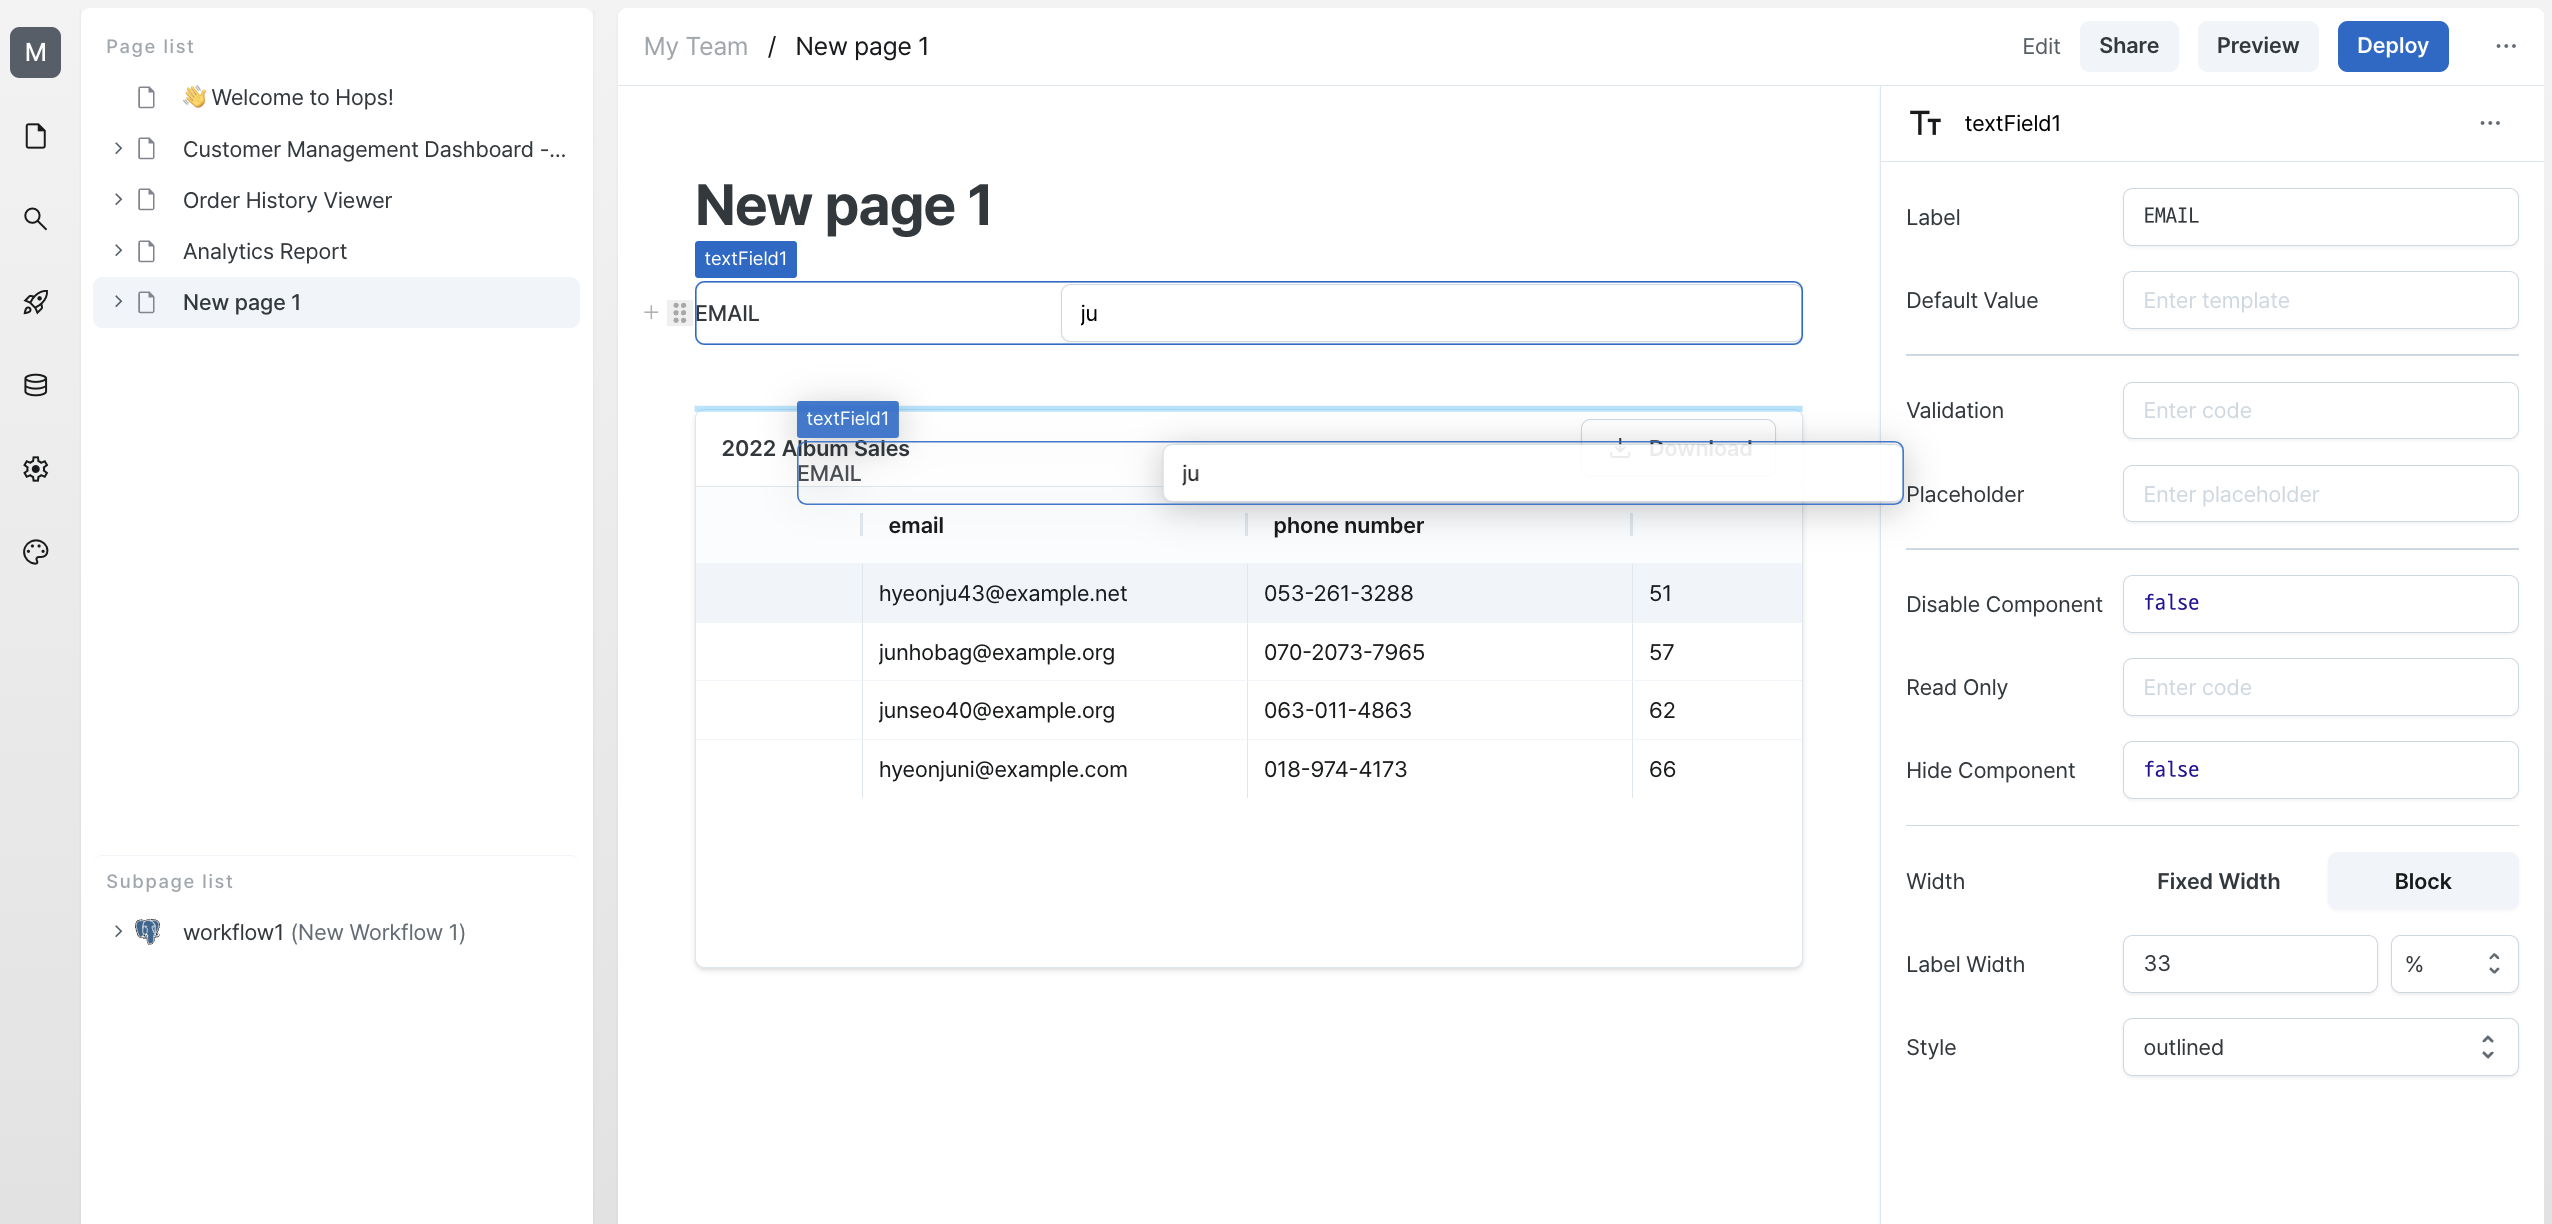
You can easily reposition any component by dragging and dropping it to your desired location on the page.
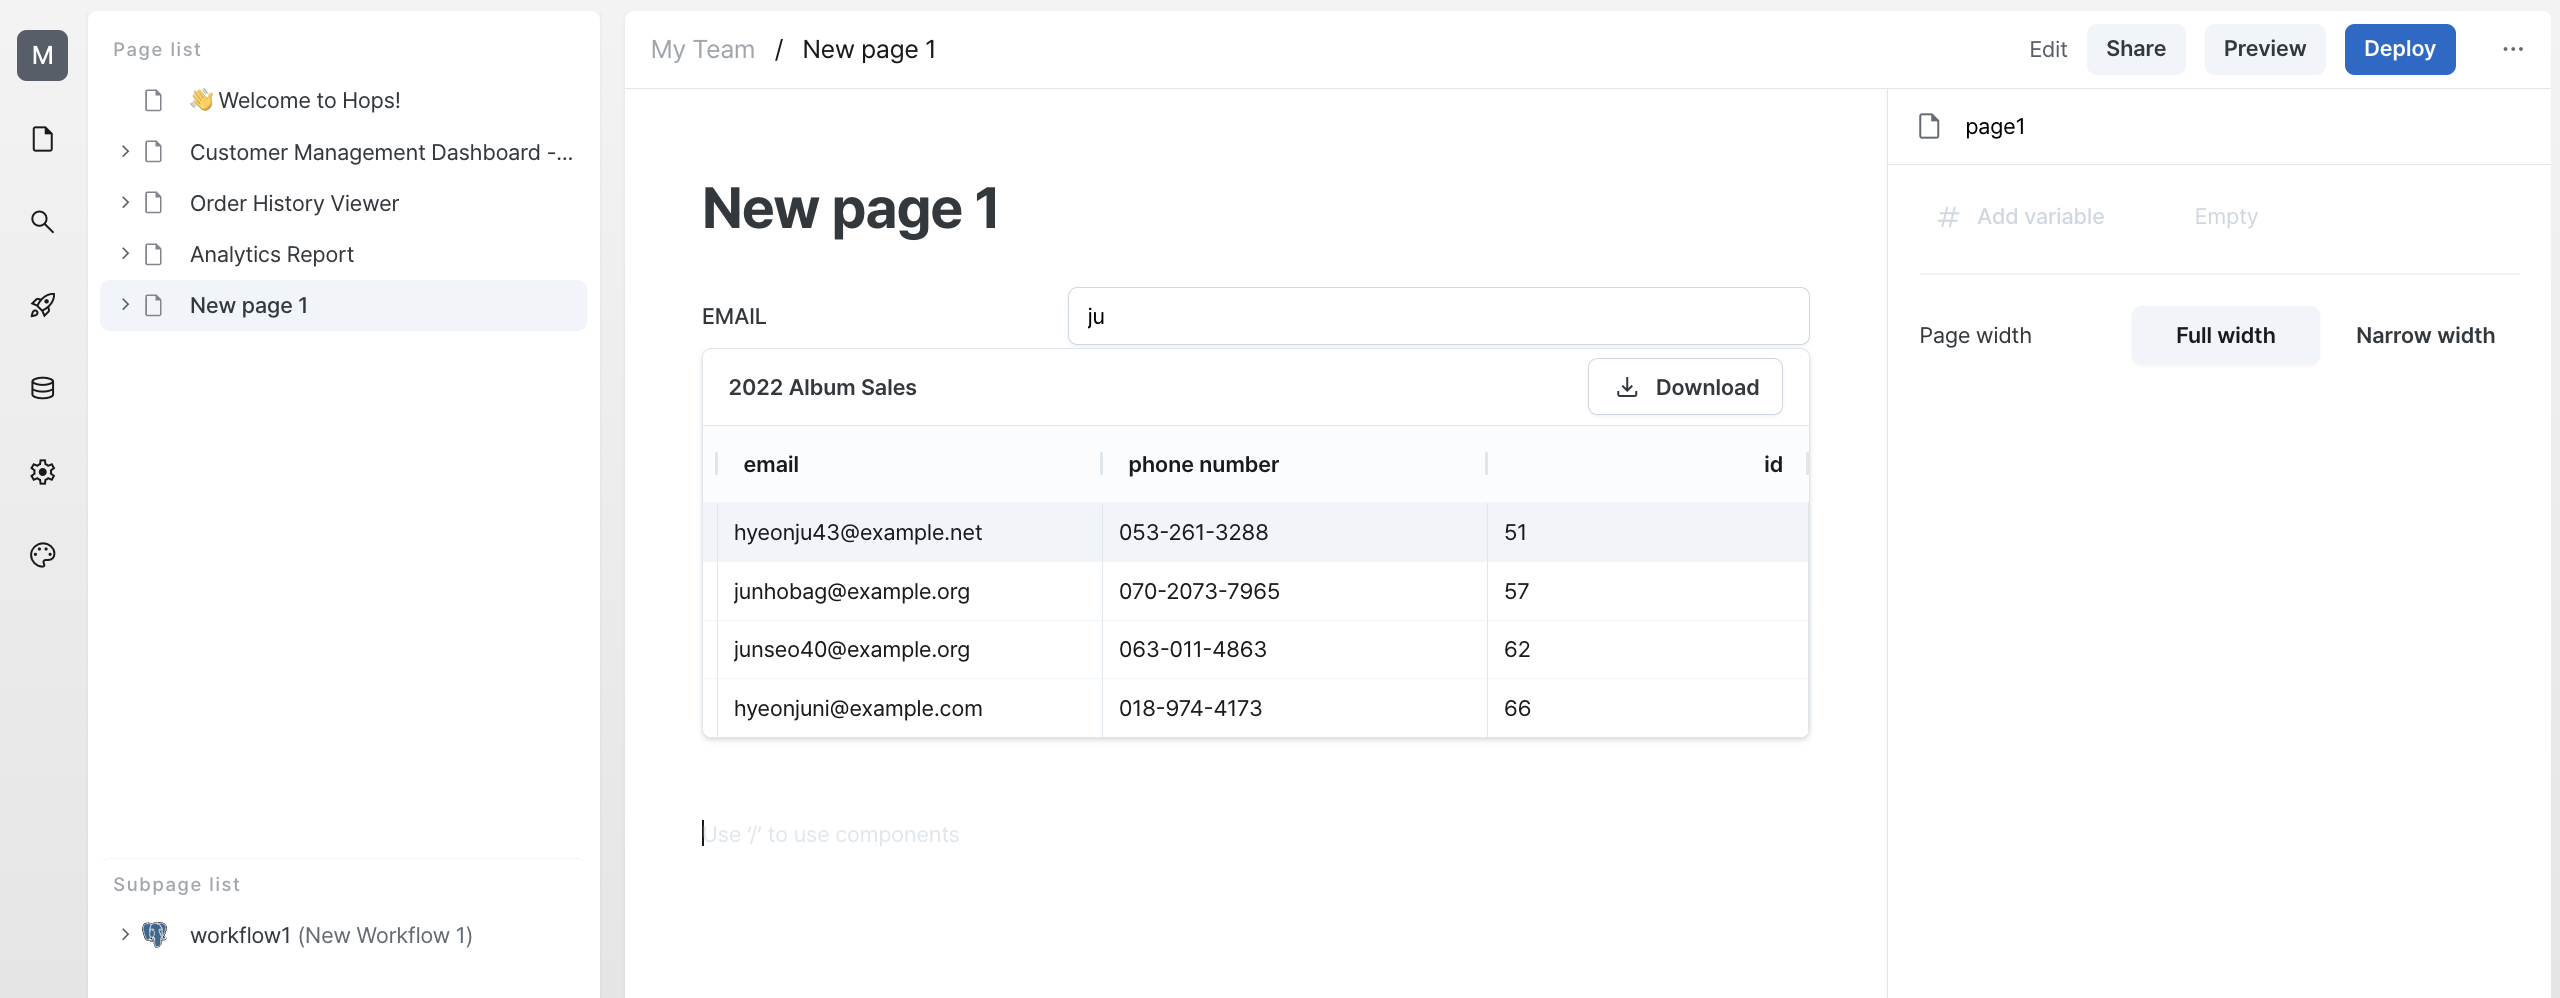
Finally, you can see that the table search feature has been created.
Learn More
In this tutorial, we showed you how to search table data by combining workflows with various components.
By combining workflows with multiple components, you can quickly and easily create a great admin interface.
Going forward, we'll introduce more ways to create admin interfaces using various component combinations and applications.